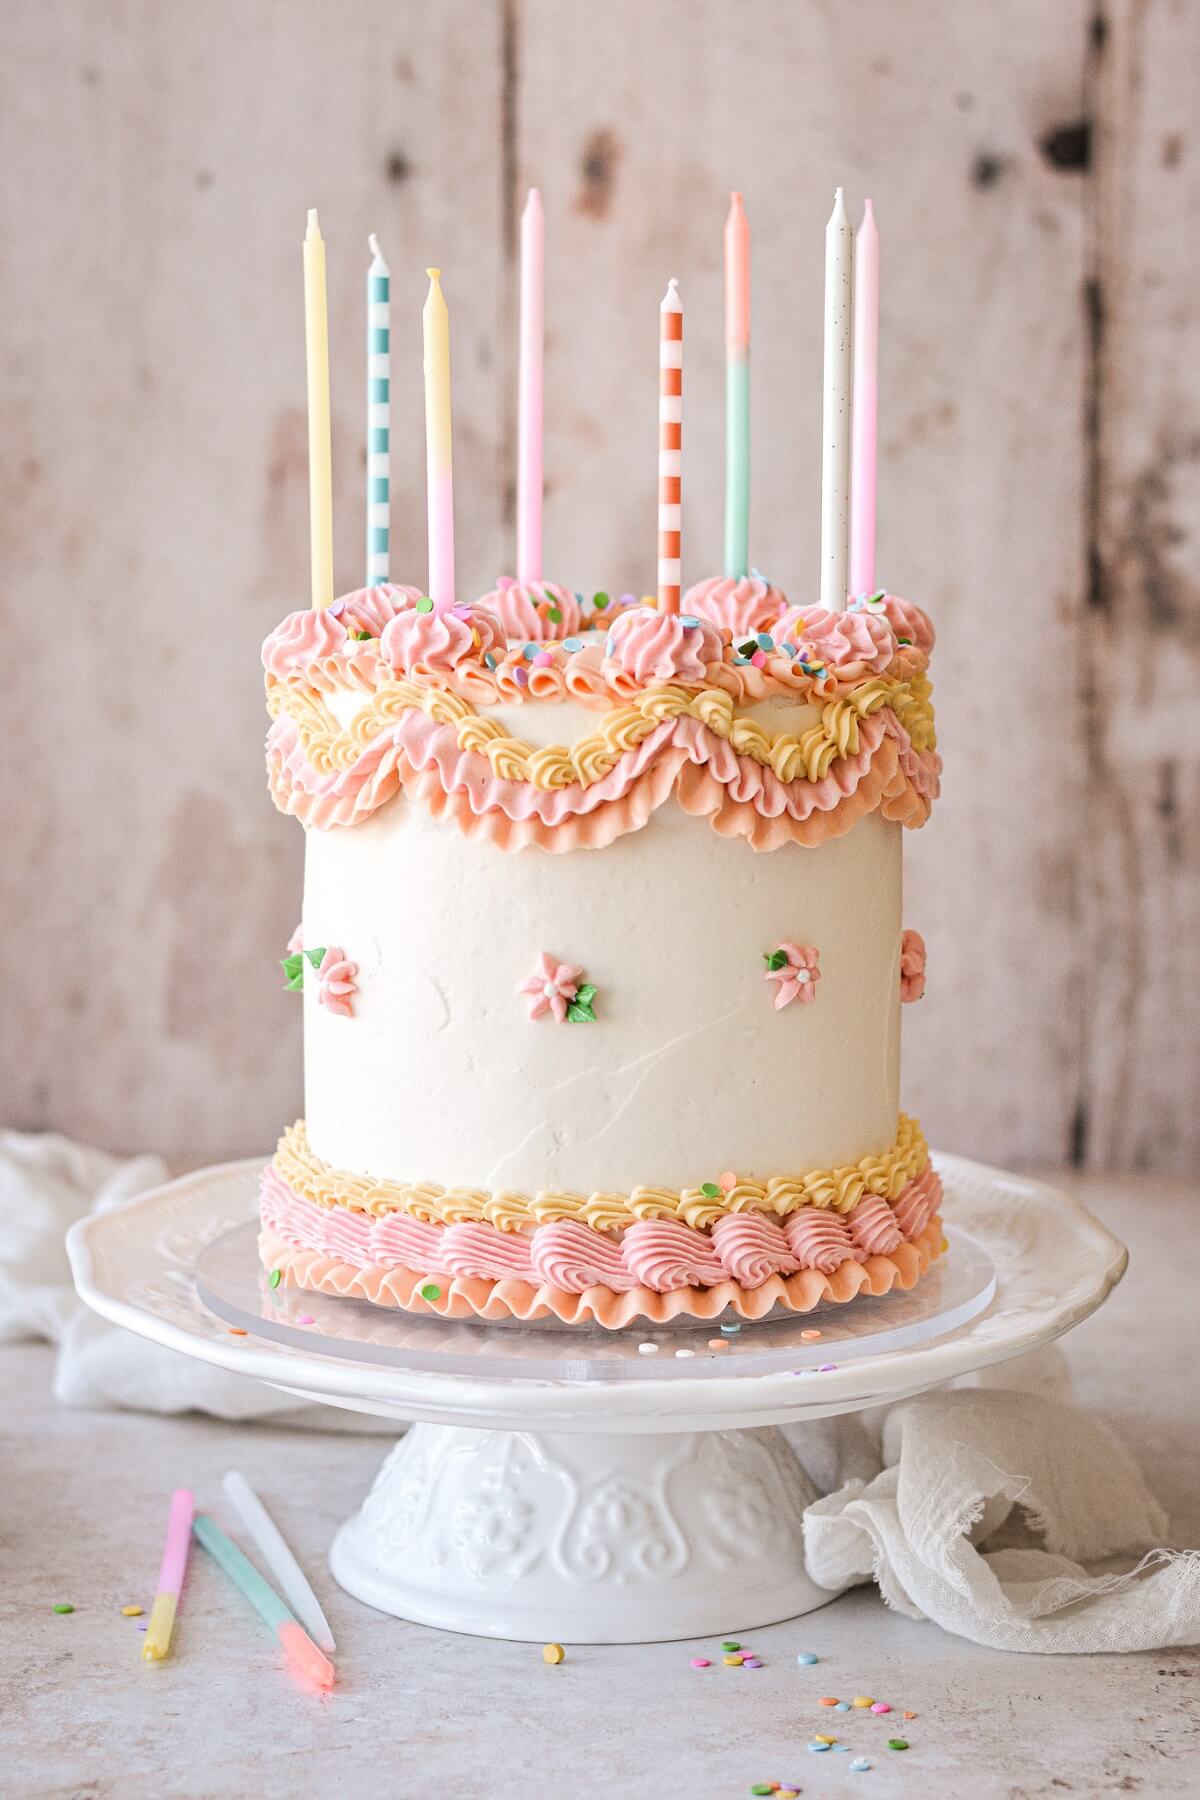
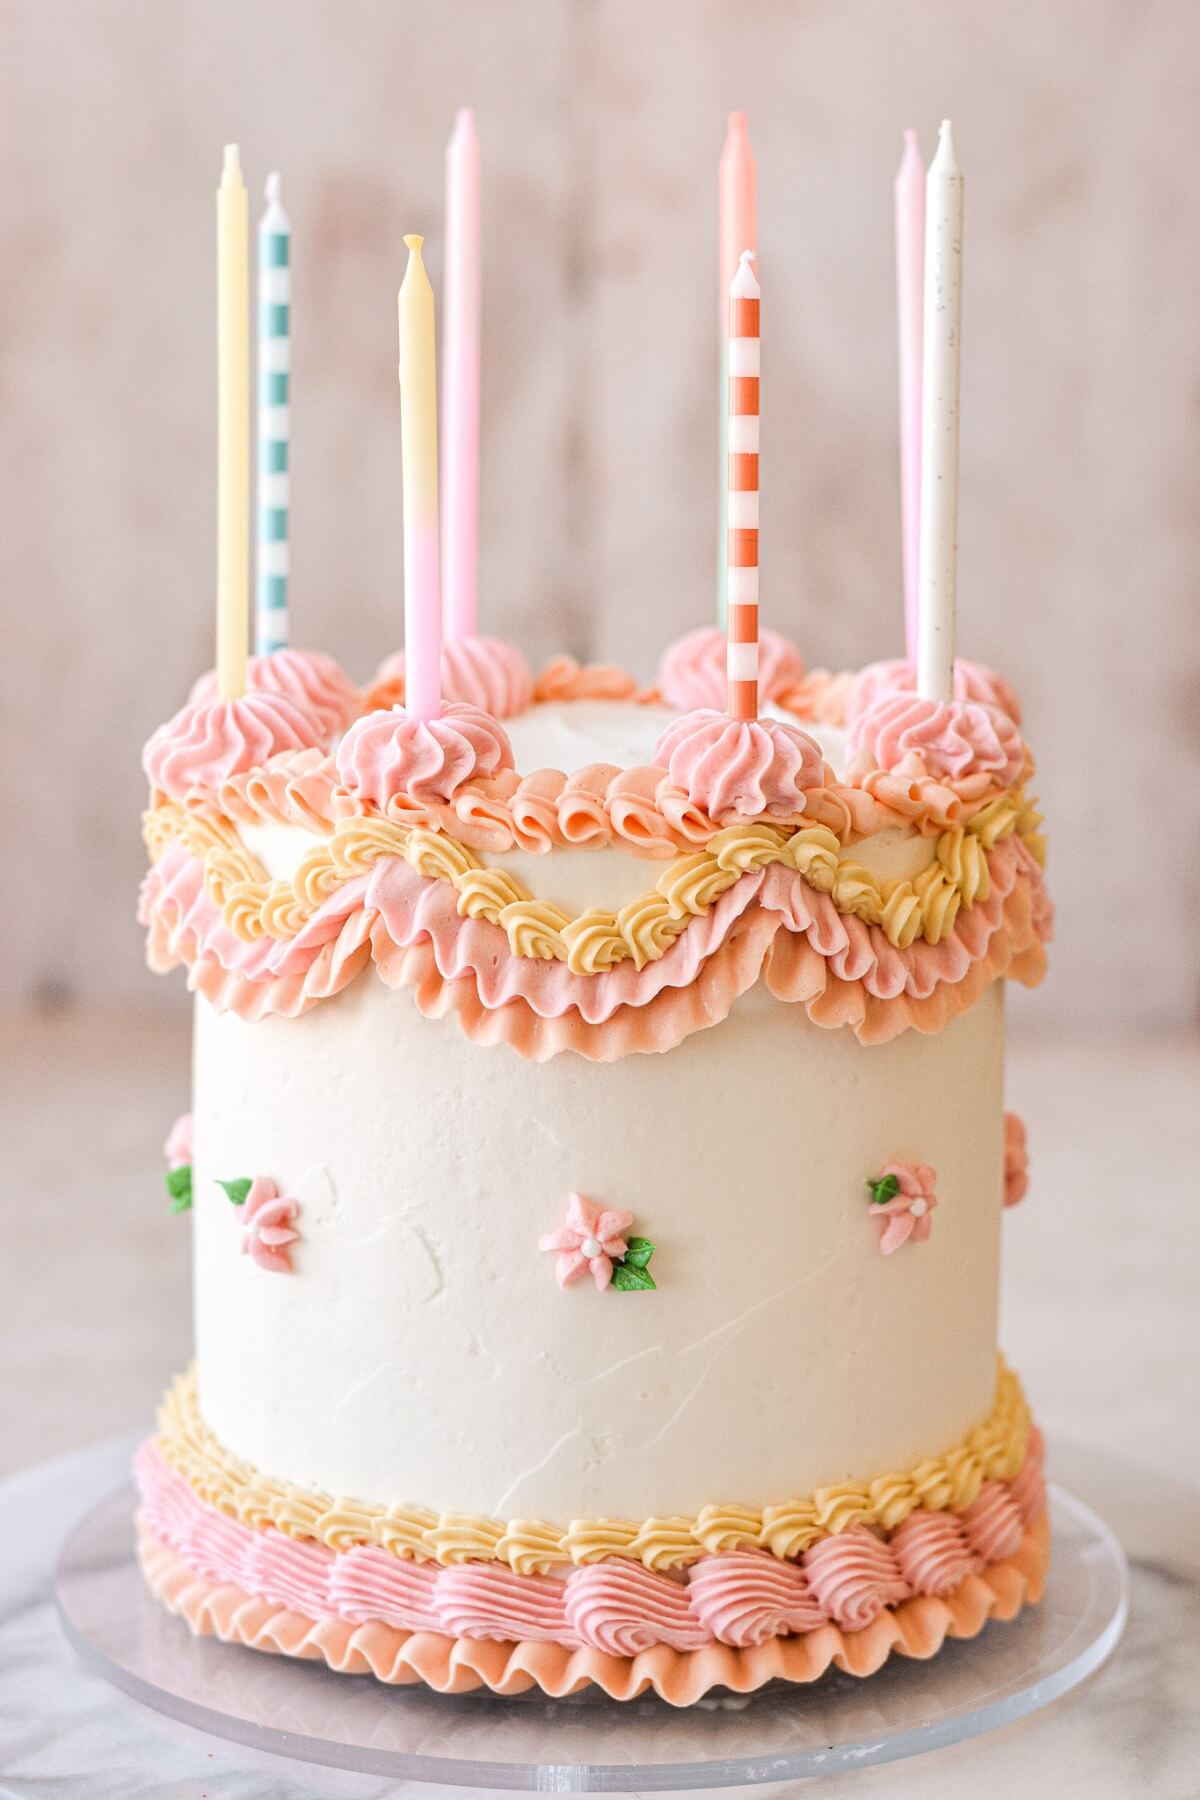
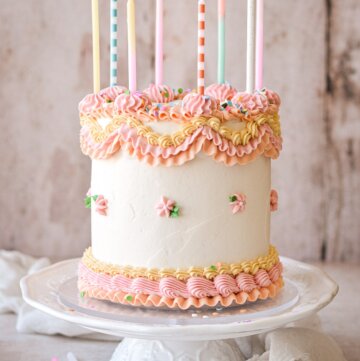
A high altitude vanilla birthday cake in spring colors of pink, orange, white and yellow, decorated with vintage piped buttercream. This pretty pastel party cake would be beautiful for Easter, Mother’s Day, or a smash cake for a baby’s first birthday party. Get the best vanilla cake recipe, as well as all my Lambeth cake decorating tips in today’s post, so you can recreate this cake in your own kitchen!
You might also love these cake decorating tutorials for a turquoise floral cake, textured pink watercolor cake, and pink Lambeth cake.
This site contains affiliate links. As an Amazon associate, I earn from qualifying purchases. This means that I may make a small commission if you purchase a product using those links. This in no way affects my opinion of those products and services. All opinions expressed on this site are my own.
What is a Lambeth Cake?
Lambeth piping is a centuries old English tradition of “over-piping”, an ornate style of cake decorating named after Joseph Lambeth, who popularized the style in his book The Lambeth Method of Cake Decoration & Practical Pastries in 1934. You might also hear this style referred to as Victorian or vintage, and it’s reminiscent of the very ornate rococo (roccoco) or baroque architectural style.
Traditionally, cake decorators used royal icing to create rows and rows of intricate piped details on their cakes. Think scrolls, garlands, swags, drapes, ruffles, shells, scallops and pearls. The many layers of icing and tiny details turn a cake into a work of art that looks impressive enough for any special occasion.
In the last few years, social media has once again popularized these old-school cake decorating techniques, and these Lambeth cakes are showing up everywhere! Instead of royal icing, I’ve decorated my pastel party cake with American buttercream, piped in the prettiest spring colors. My design is also simple enough that even someone without much cake decorating experience can master the techniques with a little patience and practice.
Tools and Equipment
- Stand Mixer with Paddle Attachment. Necessary for whipping the buttercream.
- Cake Decorating Turntable. You really need a good-quality cake decorating turntable, or you’ll get extremely frustrated trying to smoothly spin your cake around as you pipe the buttercream details. I have a marble turntable that I love. The cheaper plastic ones you’ll see at your local craft store might seem tempting, but they have a tendency to wobble and jerk, which can ruin your cake design.
- Cake Board/Disk. I always decorate cakes on an acrylic cake disk, rather than directly on the cake stand. An acrylic disk looks much nicer than a cardboard cake board, and makes it easy to transfer the cake to the refrigerator to chill, to your turntable, and finally to a cake stand. Make sure to place a non-slip pad underneath the disk, so it doesn’t slip off your turntable or cake stand.
- Piping Bags. You’ll need several disposable 12-inch piping bags.
- Coupler. A standard-sized coupler will make it easy for you to switch between different piping tips while decorating your cake.
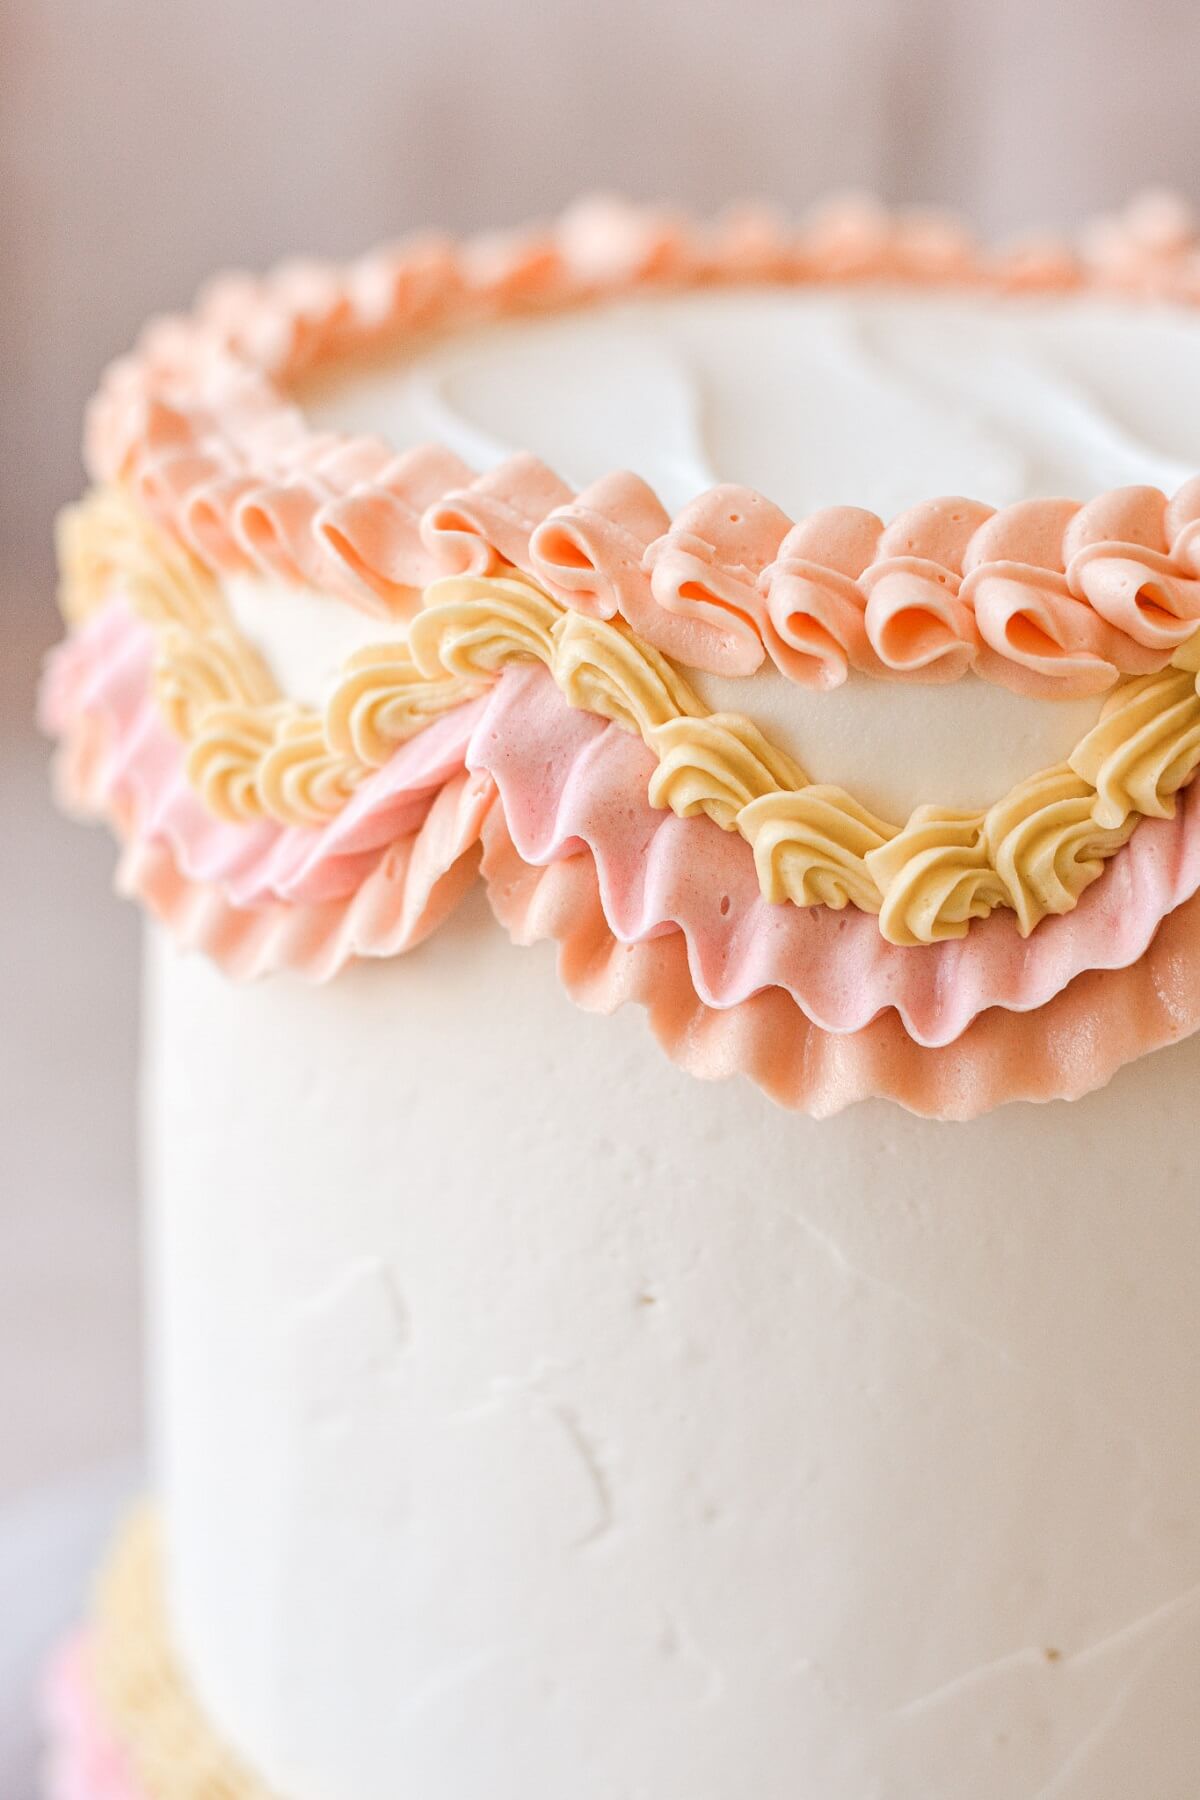
- Piping Tips: The tips I used are 4B, 69, 17, 104, 129, and 352. You can use similar sizes, of course, but if your tips are too much bigger or smaller, then your design will look a bit different in the end. #4B is a large open star tip, used for the swirls on top of the cake, and the larger shell border around the bottom of the cake. #69 is a leaf tip, but makes a pretty ruffle around the top edge of the cake. #17 is a small star tip, used for the smaller shell borders and garlands. #104 is a petal tip, used to create the ruffled garlands. #129 is a small flower tip, for the little flowers around the sides of the cake, and #352 is a leaf tip. You can find all of these piping tips in the Wilton Master Decorating Tip Set.
- 4 Round Cake Pans. For the 7-inch tall cake pictured in today’s post, divide the cake batter between four 6-inch cake pans. This makes small but thick cake layers for an extra tall cake, and is not recommended for those who are inexperienced with stacking and frosting layer cakes. For a more standard-sized cake that’s not as tall but still serves 16 people, divide the cake batter between four 8-inch cake pans. The cake layers will be thinner, and much more manageable for a beginner to stack and frost. For a more petite cake that serves 8 people, cut the cake recipe in half, and use four 6-inch cake pans.
See the recipe card at the end of the post for the full ingredients list and instructions.
Ingredients
- 1 recipe Vanilla Cake. For a more petite six-inch cake, cut the cake recipe in half.
- 6x recipe Vanilla Buttercream. If you’re making the smaller, half-size six-inch cake, you’ll only need 5x the buttercream recipe. Any leftover buttercream can be frozen in freezer bags for other cake projects.
- Gel Food Coloring. Super Red or Electric Pink, Orange, Yellow, and Leaf Green. I usually use the Americolor brand.
- Confetti Sprinkles. For the Funfetti cake layer.
- Small Sugar Pearls. For placing in the center of the piped flowers on the side of the cake.
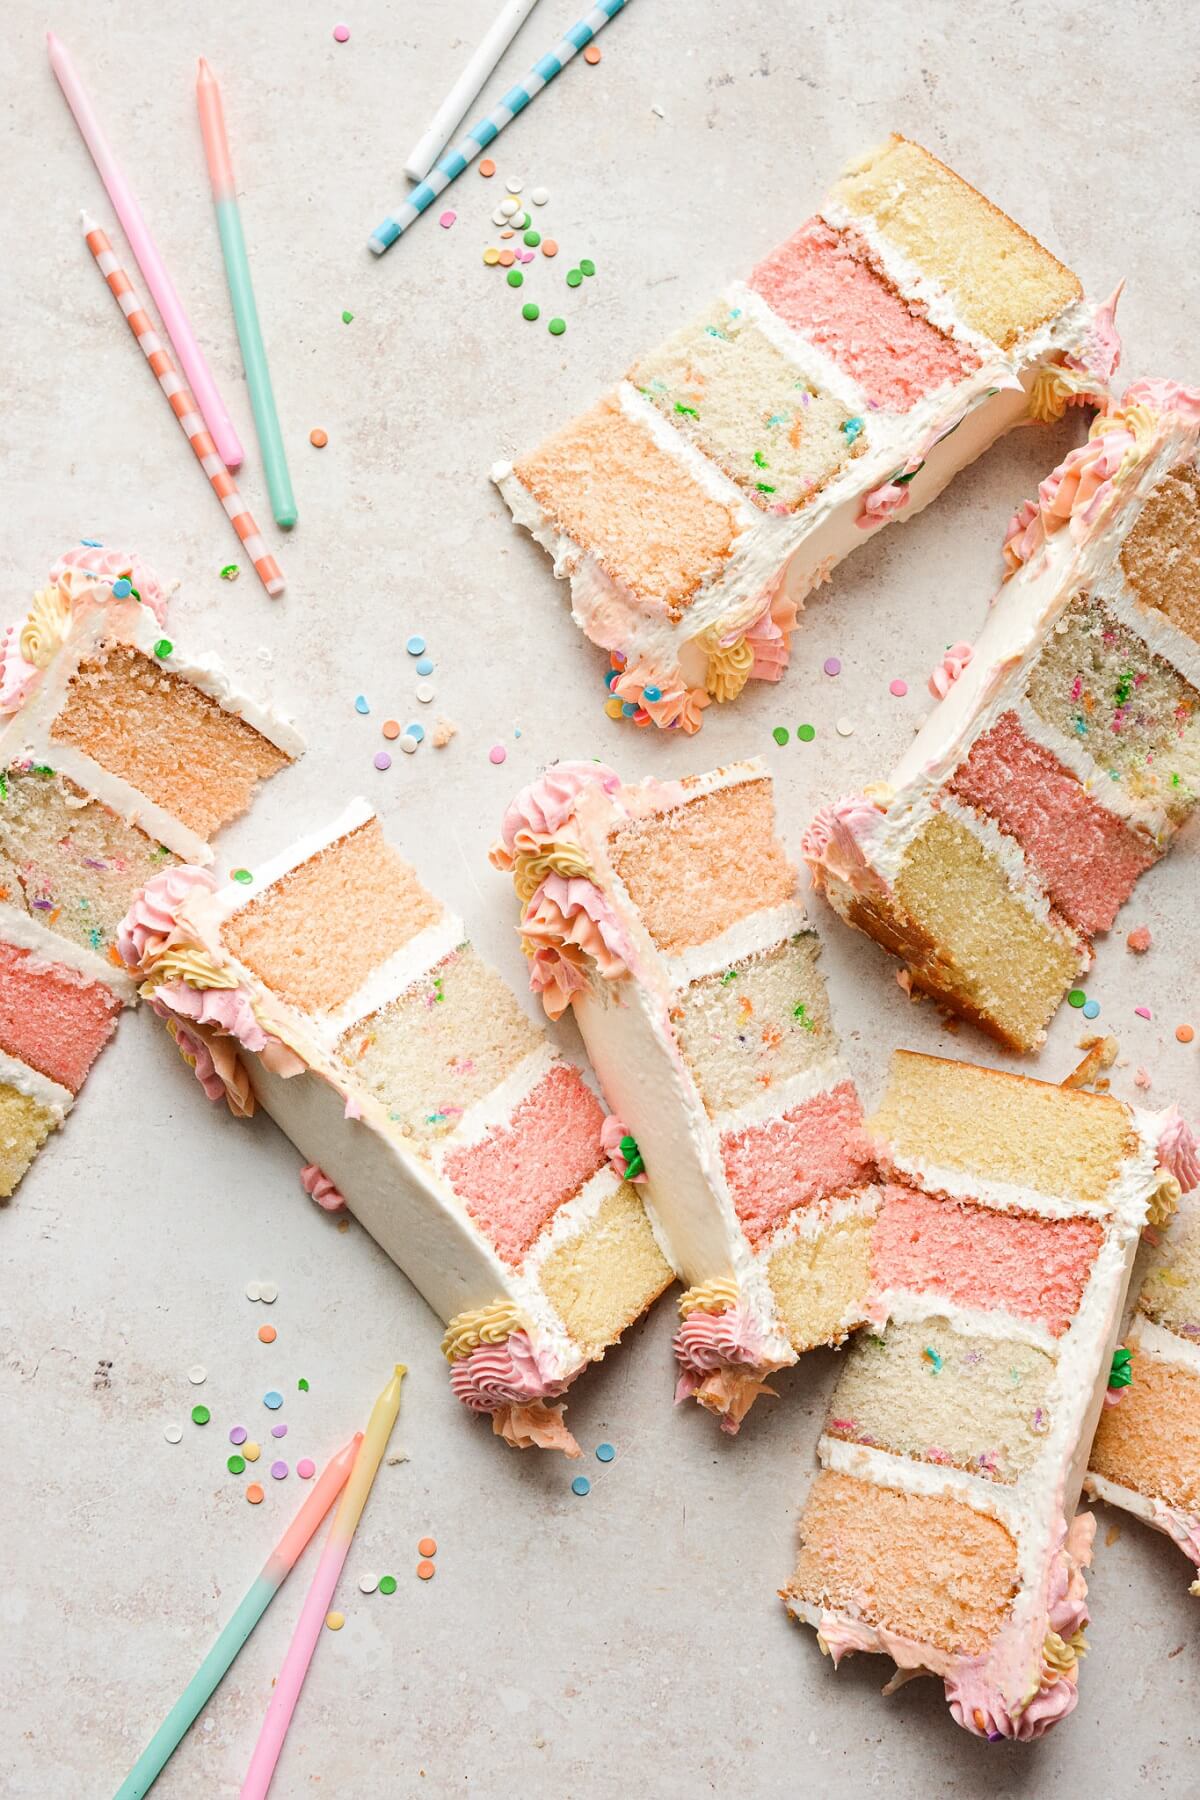
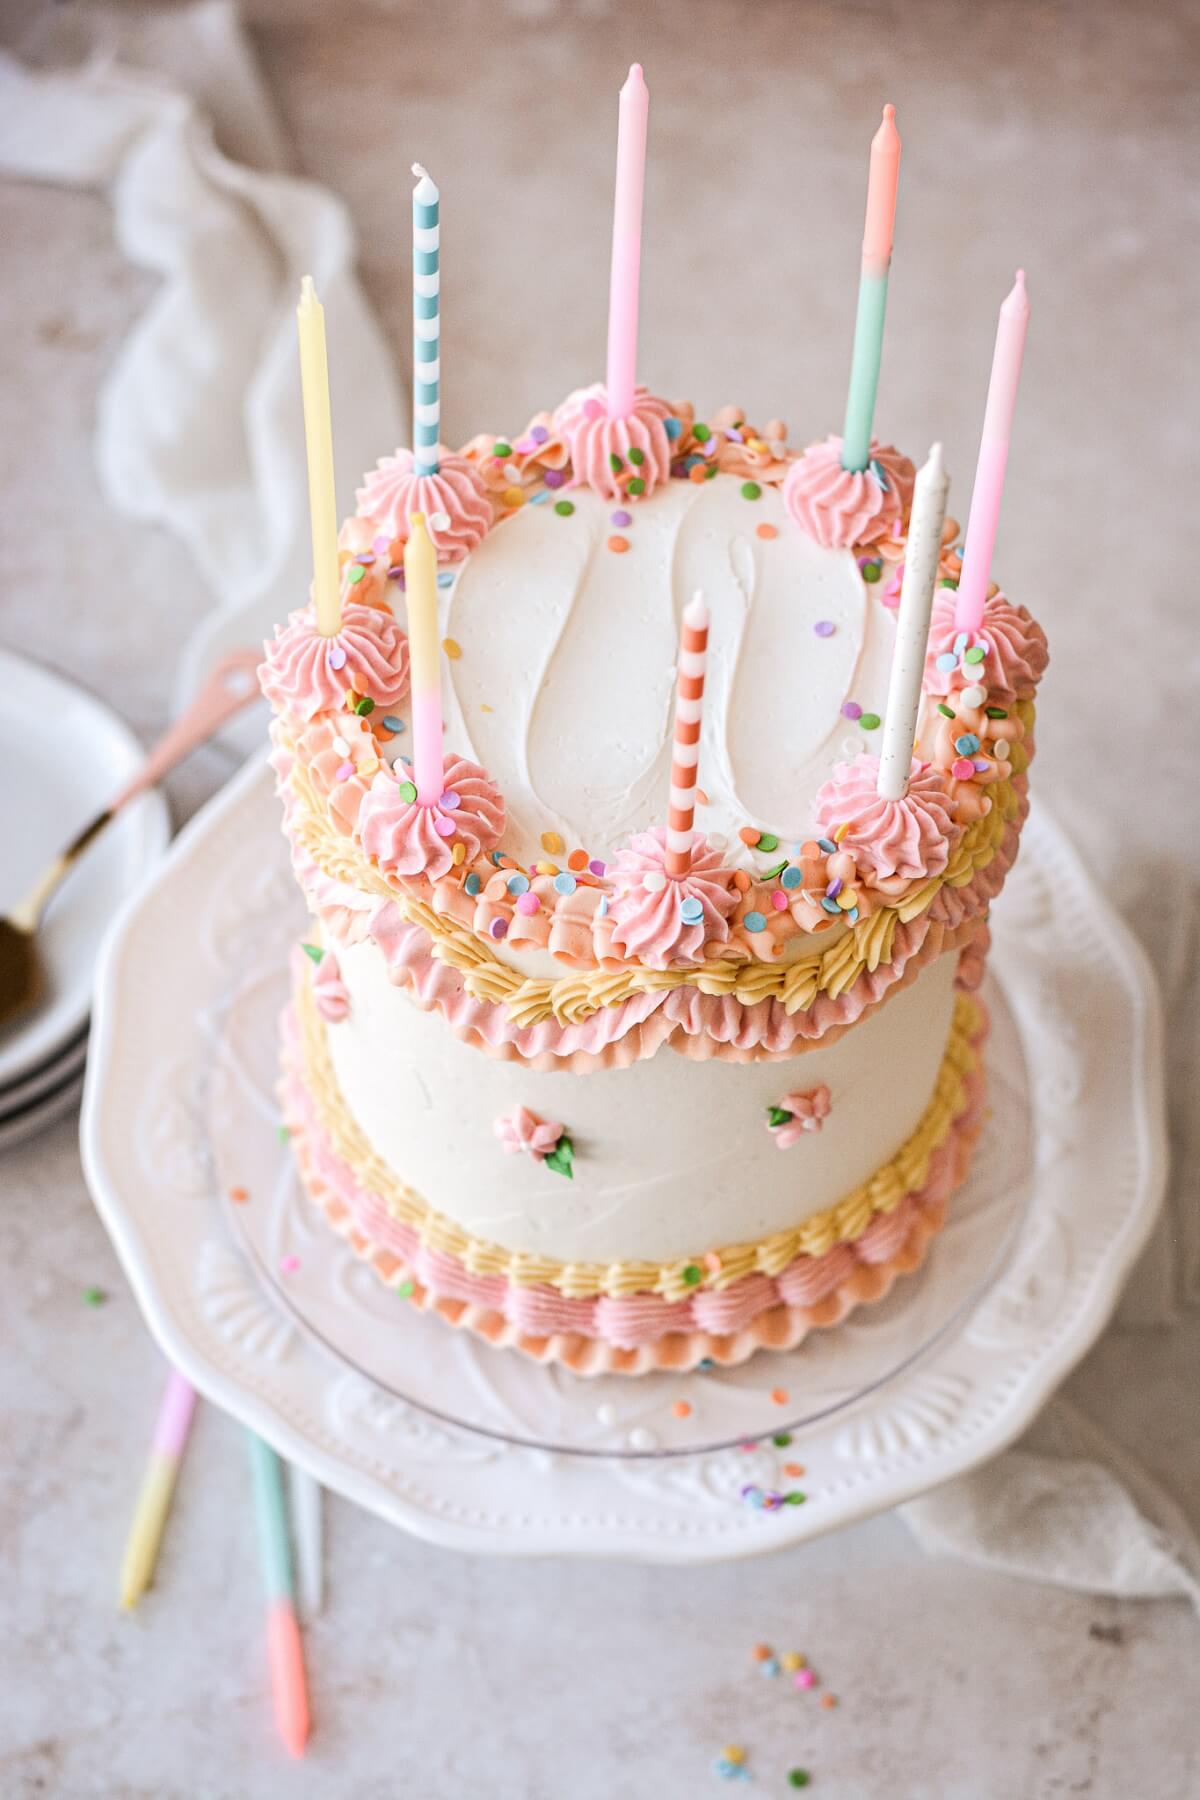
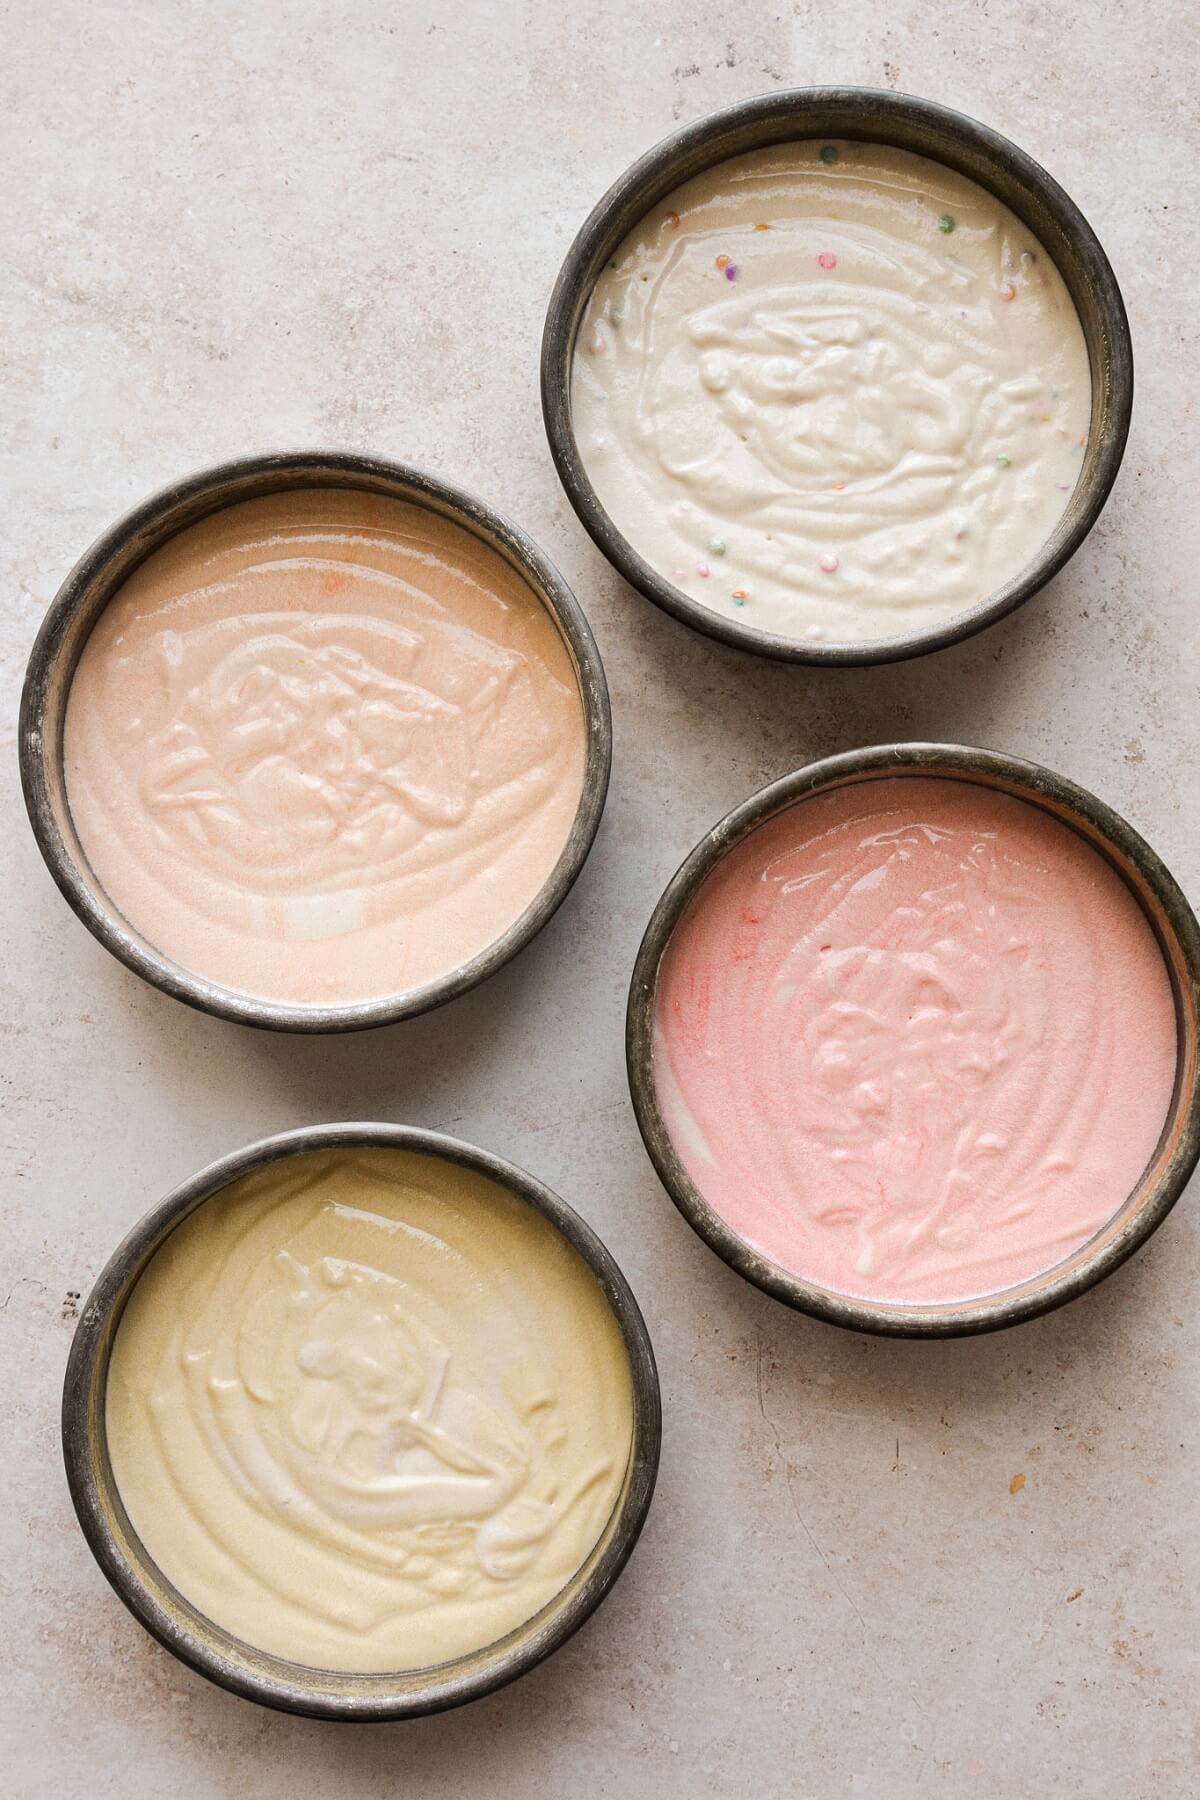
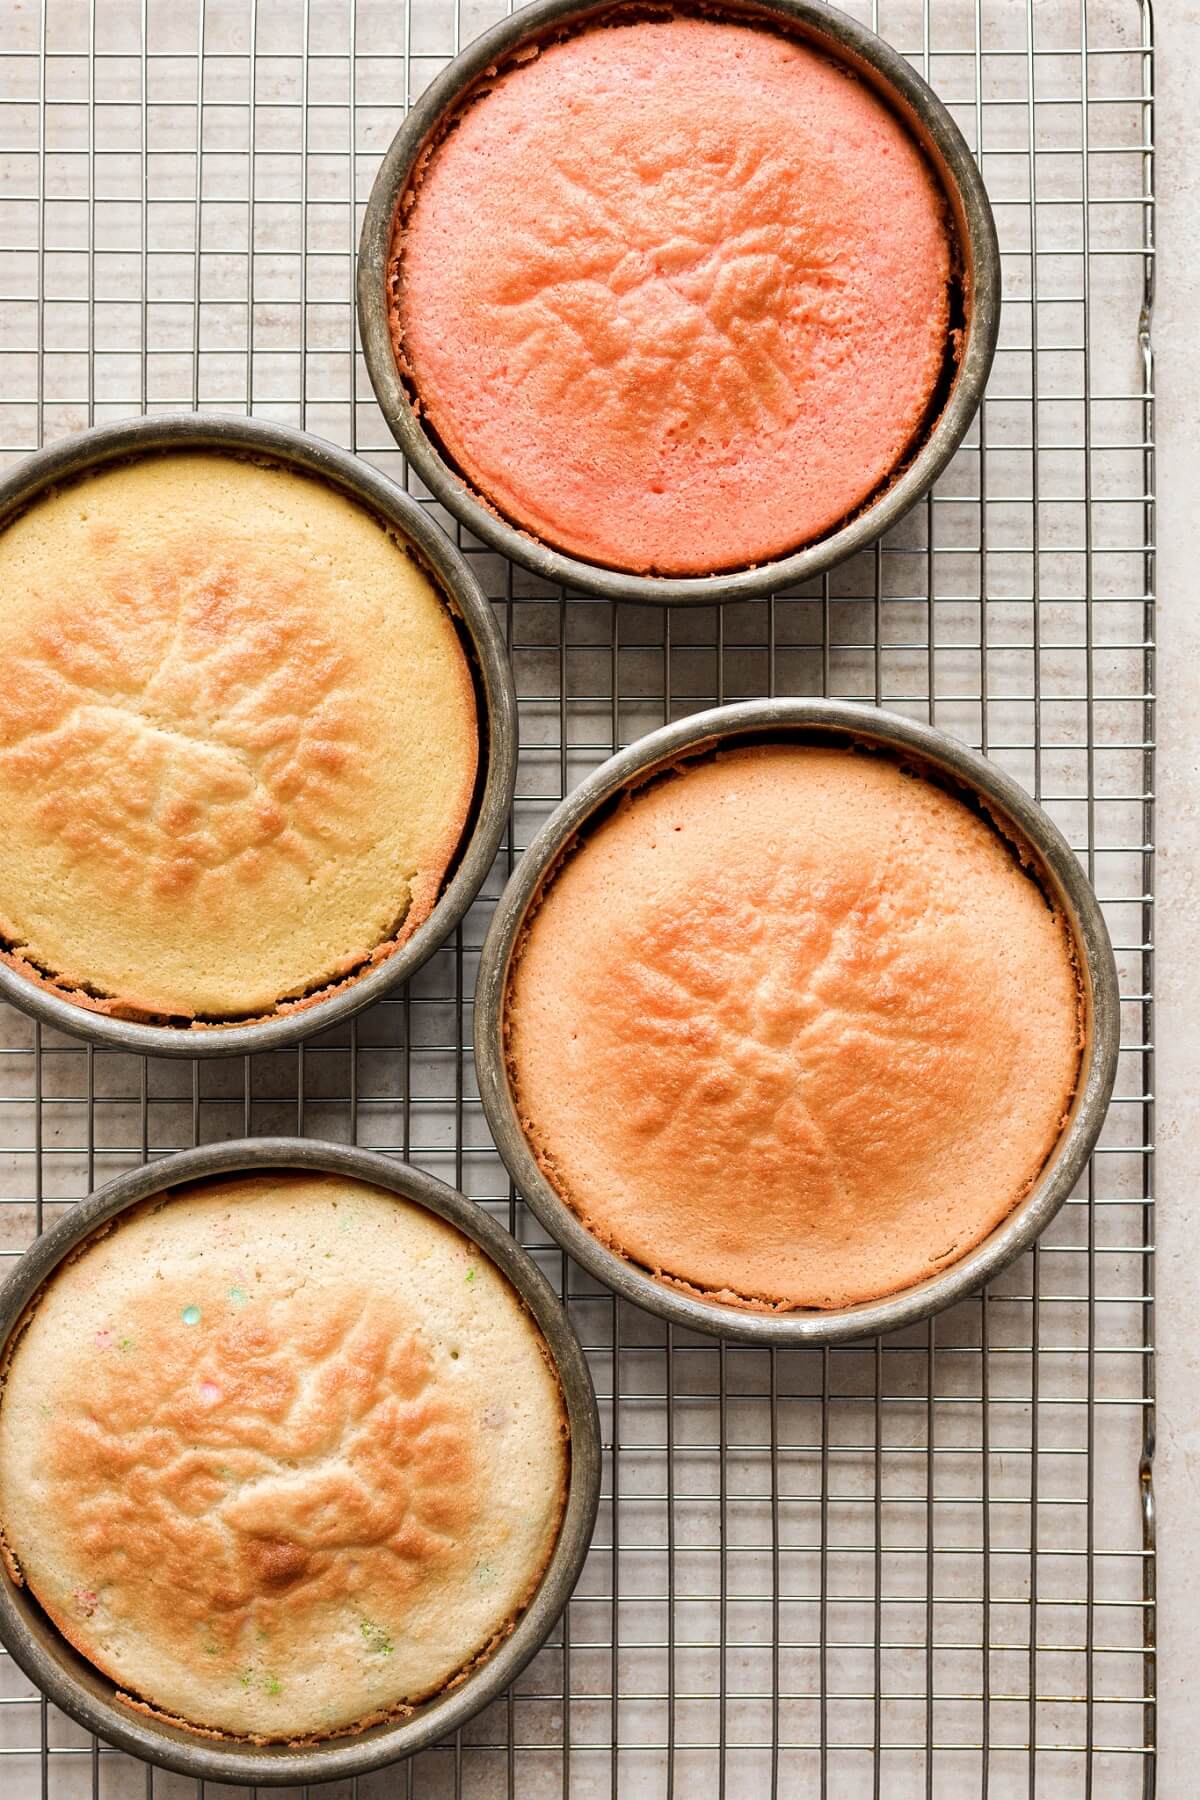
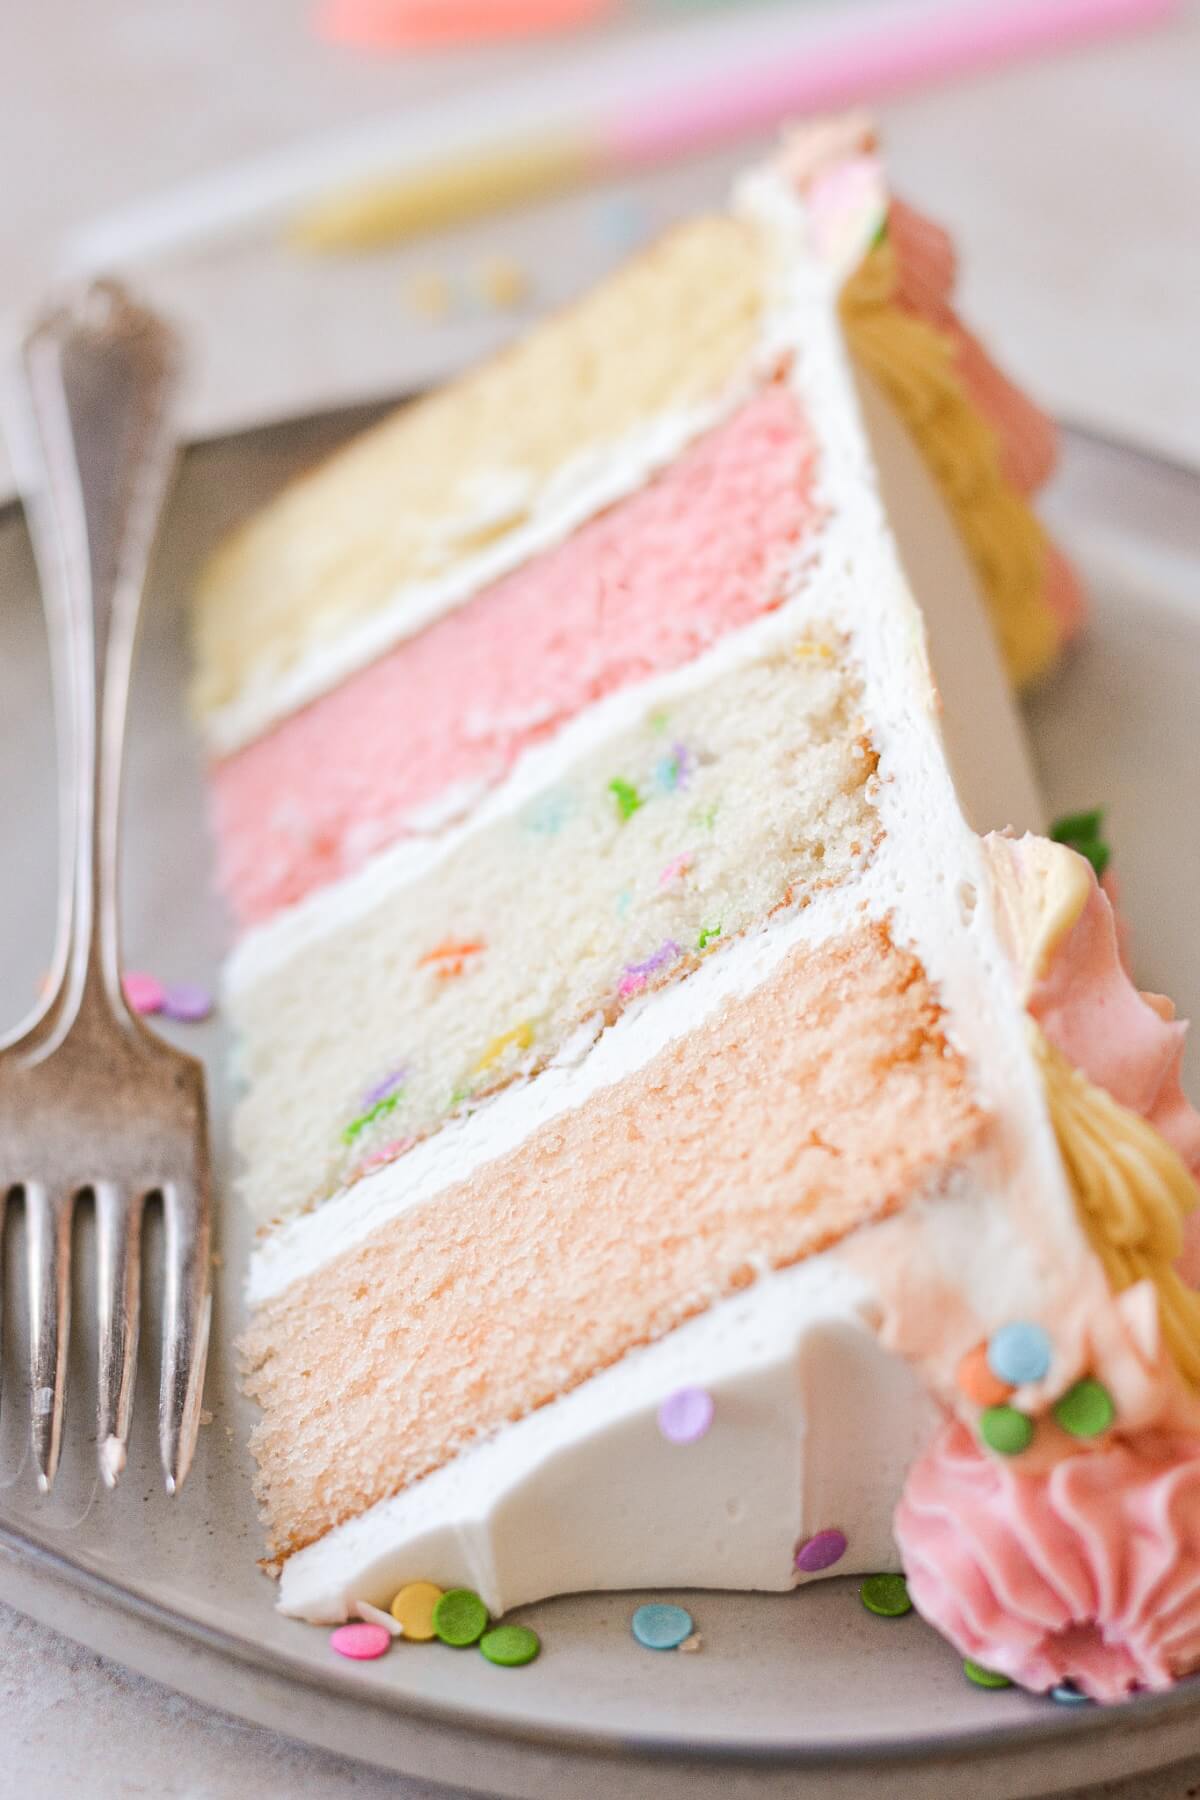
For today’s pastel party cake, you’ll be dividing the vanilla cake batter between four different cake pans. I made each layer a different color, with pink, orange, yellow and white with sprinkles cake layers. Then I repeated those colors with the vintage Lambeth piping on the outside of the cake.

Instructions
Bake the Cake
- Preheat the oven to 350 F, and position a rack in the center of the oven. Prepare four cake pans by spraying the bottoms with non-stick baking spray.
- Prepare the vanilla cake batter as instructed, taking care not to over-mix the batter. Divide the batter evenly between 4 bowls. Use the food coloring to tint three bowls of batter pink, orange and yellow, and stir the confetti sprinkles into the 4th bowl.
- Pour the batter into the prepared baking pans. Bake thicker 6-inch cake layers for about 30-35 minutes, and thinner 8-inch cake layers for about 25-30 minutes. Set the pans on a cooling rack, cover them loosely with a clean kitchen towel, and cool completely before frosting. Be sure to level the cakes by slicing off the domed tops before assembling your cake.
Make the Buttercream and Frost the Cake
- Make 6x the Recipe for Perfect American Buttercream.
- Remove the cooled cakes from the pans, and stack and fill the cake layers with the buttercream. Frost the cake all over with a thin crumb coat of buttercream.
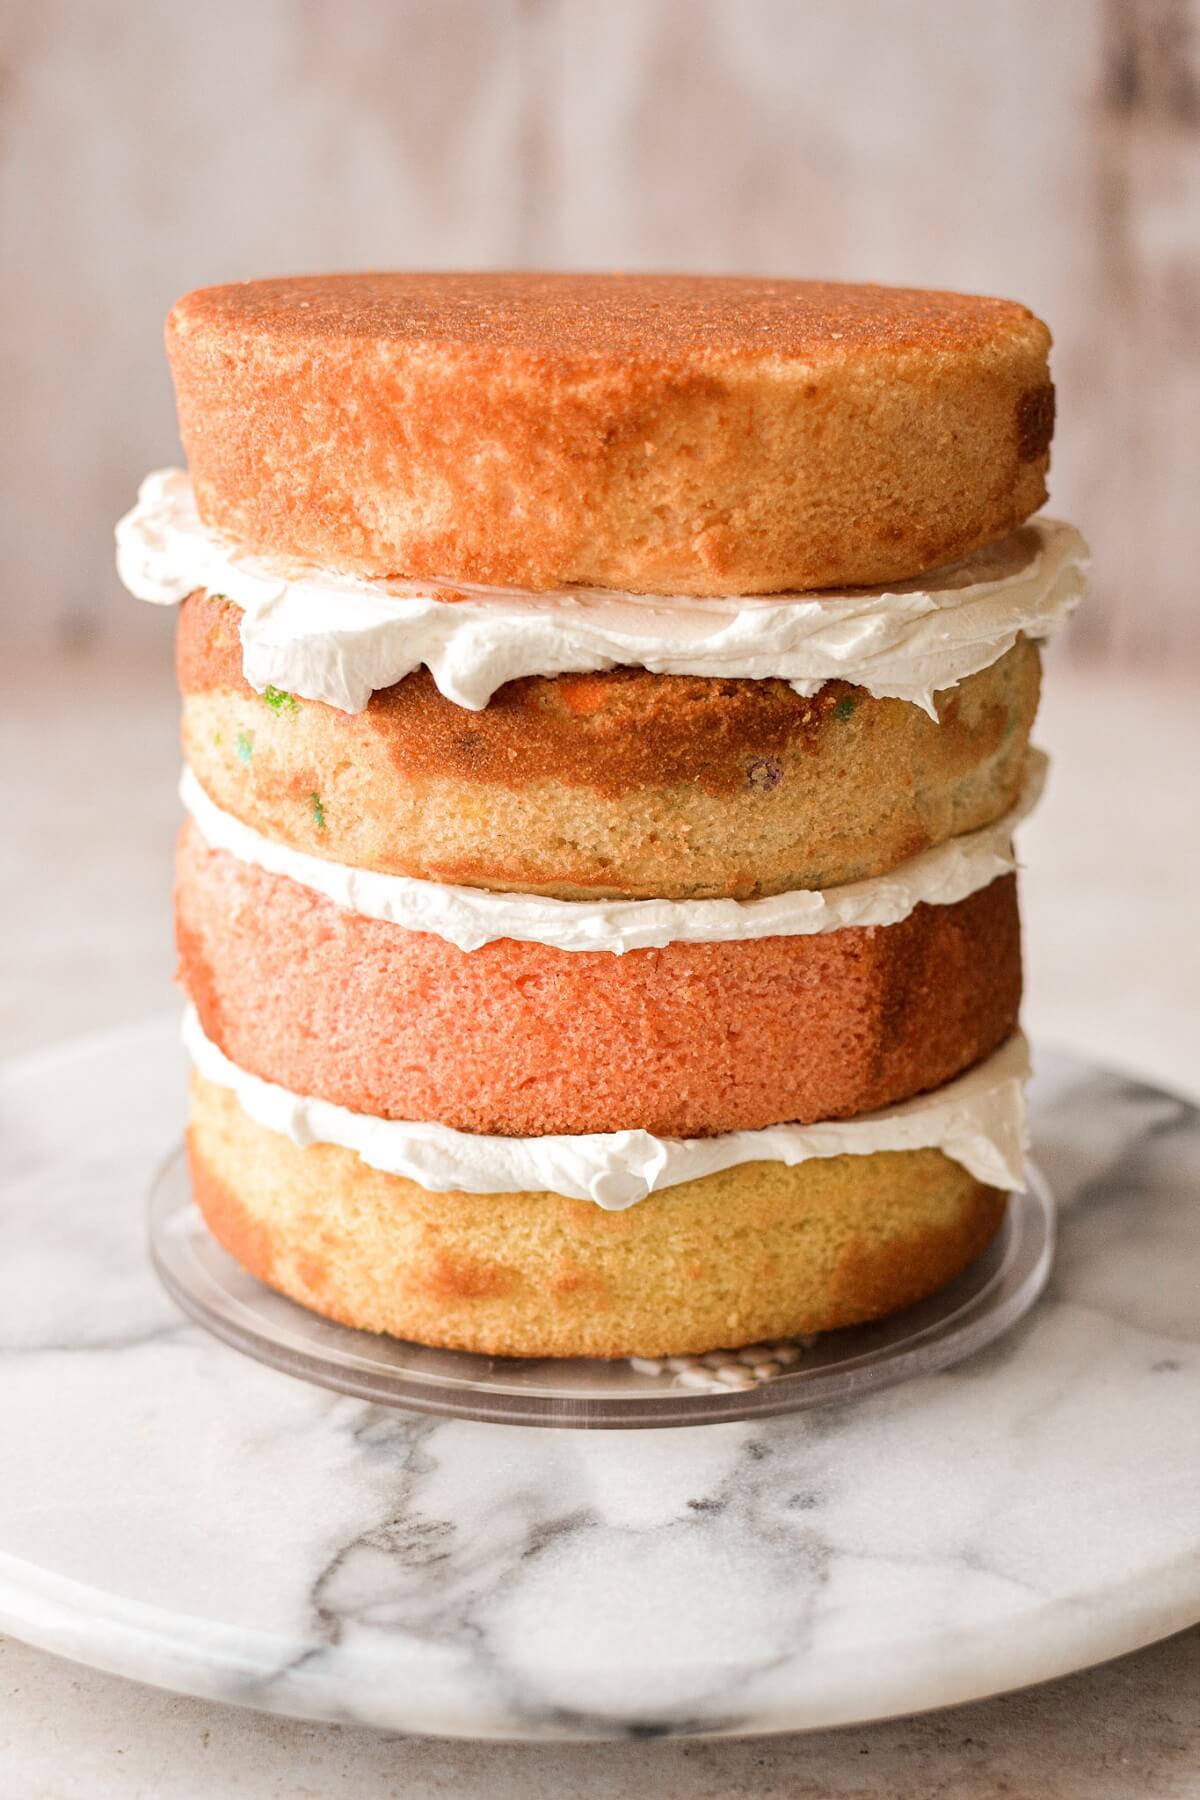

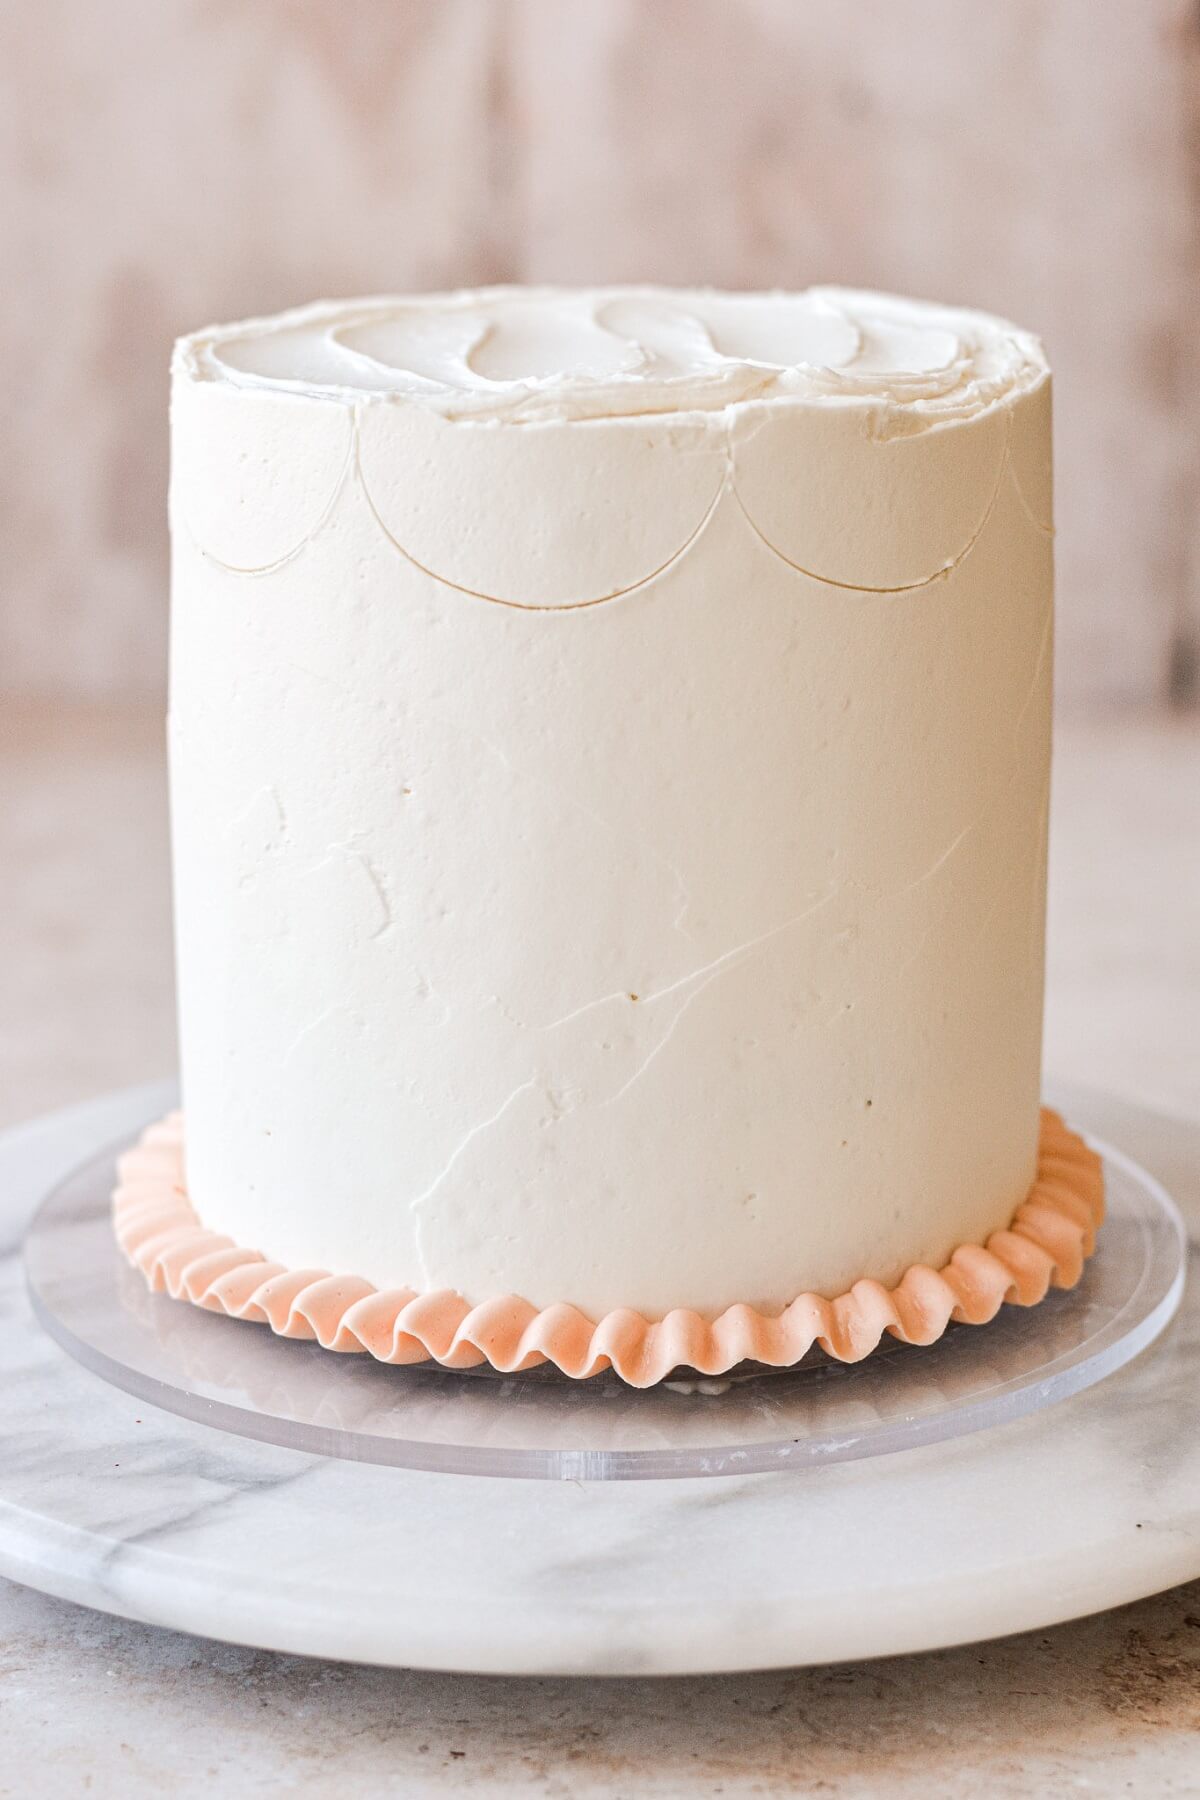
- Chill in the refrigerator for 30 minutes, then frost all over with a final smooth coat of buttercream. Chill the frosted cake in the refrigerator for at least 1 hour, before decorating with the Lambeth piping.
- For tips, see this post: How to Stack, Fill, Crumb Coat and Frost Layer Cakes.
Color the Remaining Buttercream
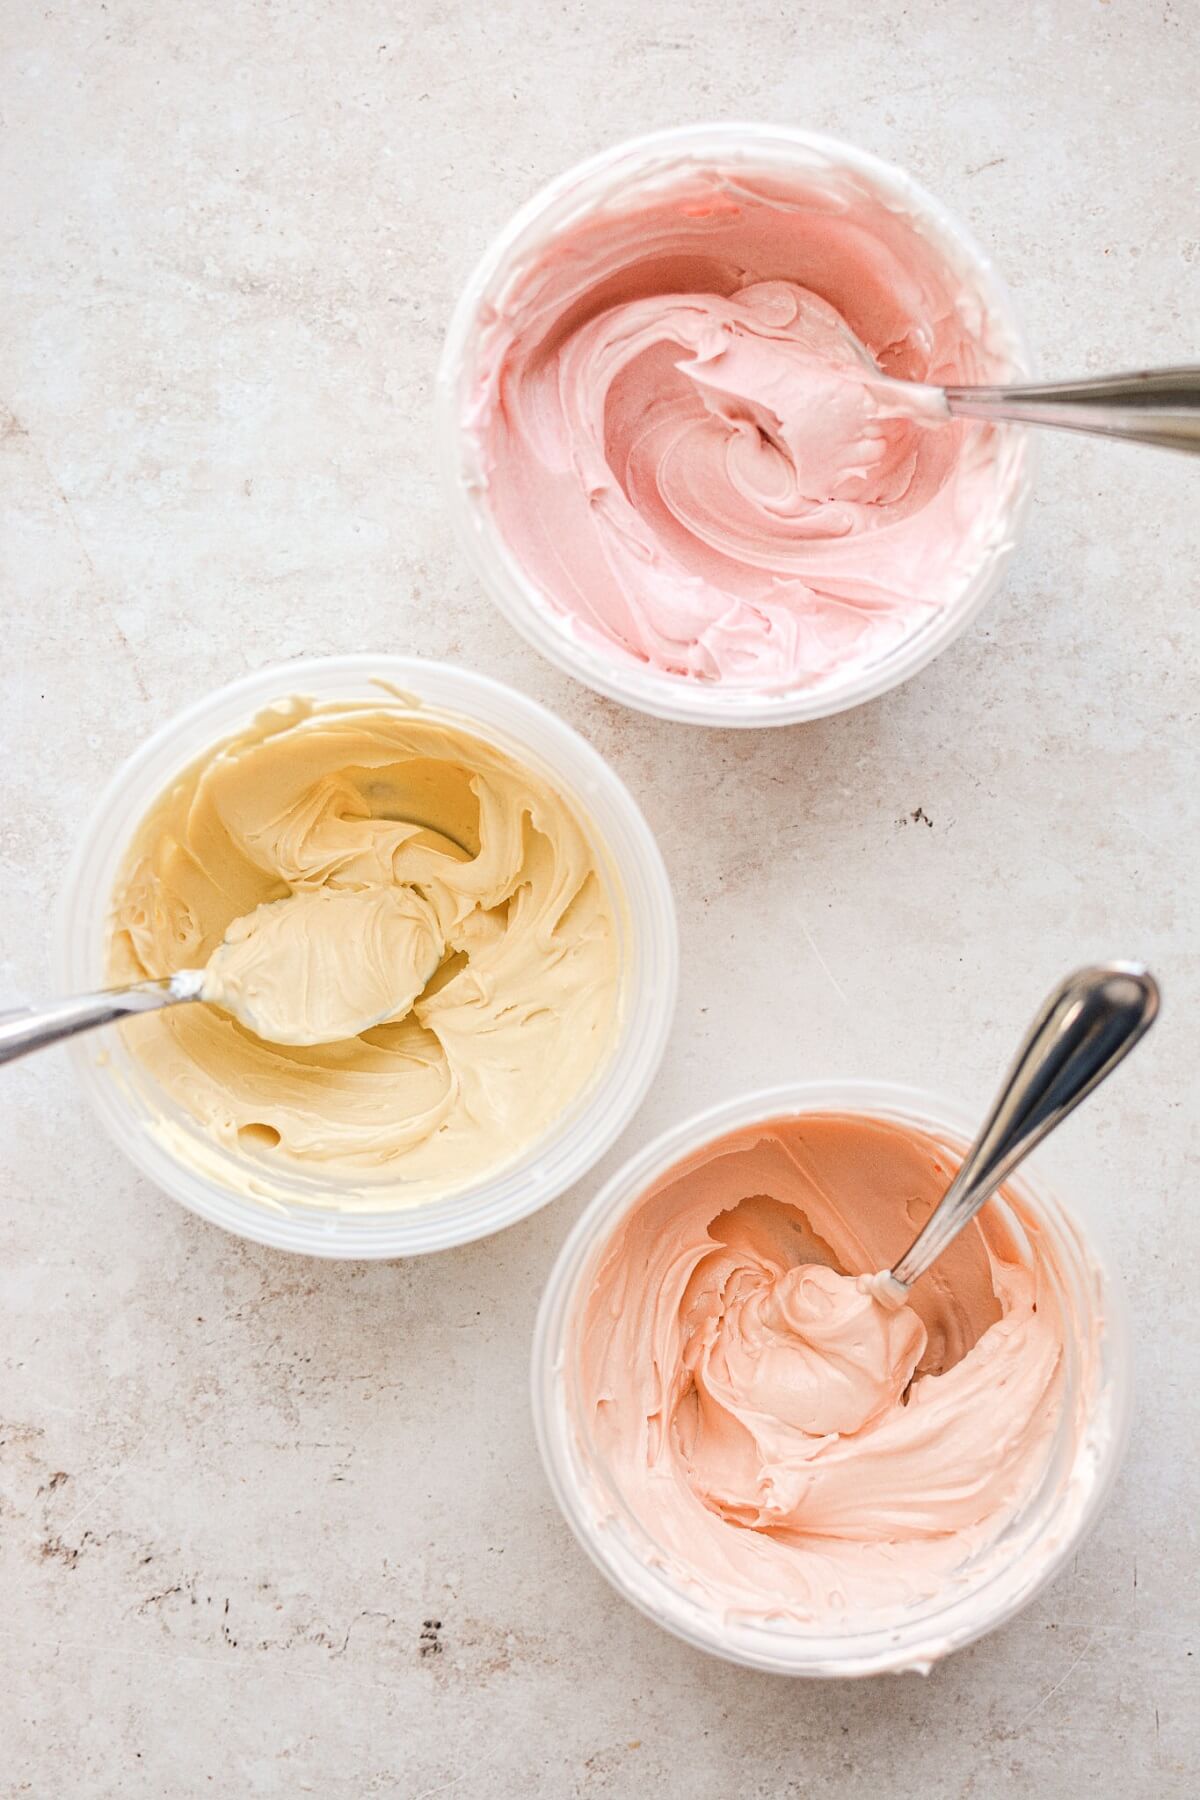
- Divide the leftover buttercream between several bowls, and use the food coloring to tint each to your desired shade.
- For the design pictured in today’s post, you’ll need about 1 cup of pink buttercream, 3/4 cup of orange buttercream, 1/2 cup of yellow buttercream, and 2 tablespoons of green buttercream.
Pro Tip: To soften the brightness of the pink, orange and yellow, add a tiny drop of “warm brown” gel food coloring to the buttercream. This makes the color a bit more muted and natural.
Decorate the Cake
- Use a round cookie cutter or biscuit cutter to mark the top edge of the cake with 8 half circles – this gives you a template to pipe along, so your piping is even all the way around the cake. See photos demonstrating this step in my original Lambeth Cake Post.
- I’d also suggest reading this post, for tips on how to prep your piping bags and piping tips: How to Use Piping Bags, Couplers and Piping Tips.
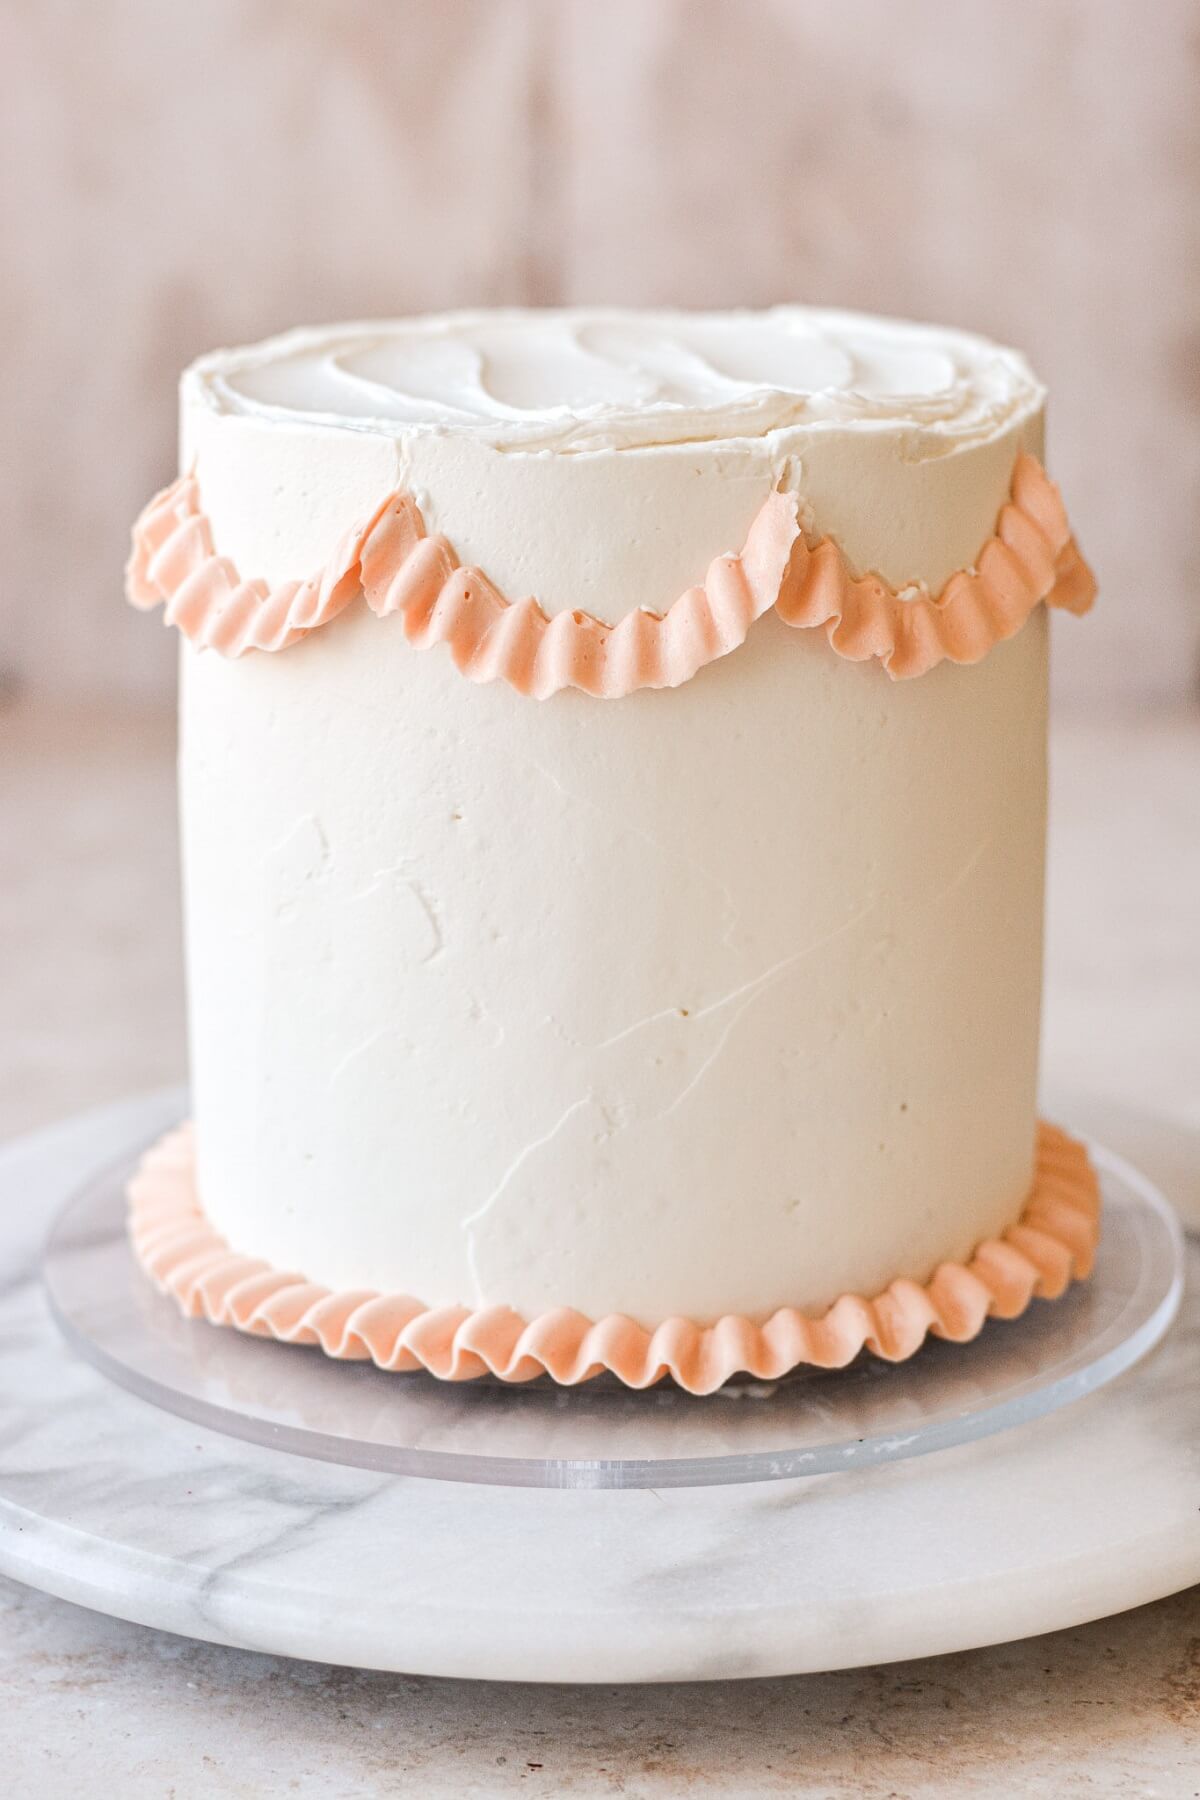
- Fit a piping bag with tip 104, and fill with the orange buttercream. Pipe an orange ruffle around the bottom edge of the cake.
- Still using tip 104, pipe an orange ruffle along the half circles, all around the cake, to make a ruffly garland or draped design. Note that on the first row of ruffles, I didn’t go all the way up to the top edge of the cake, since I wanted to leave room for more rows of piping.
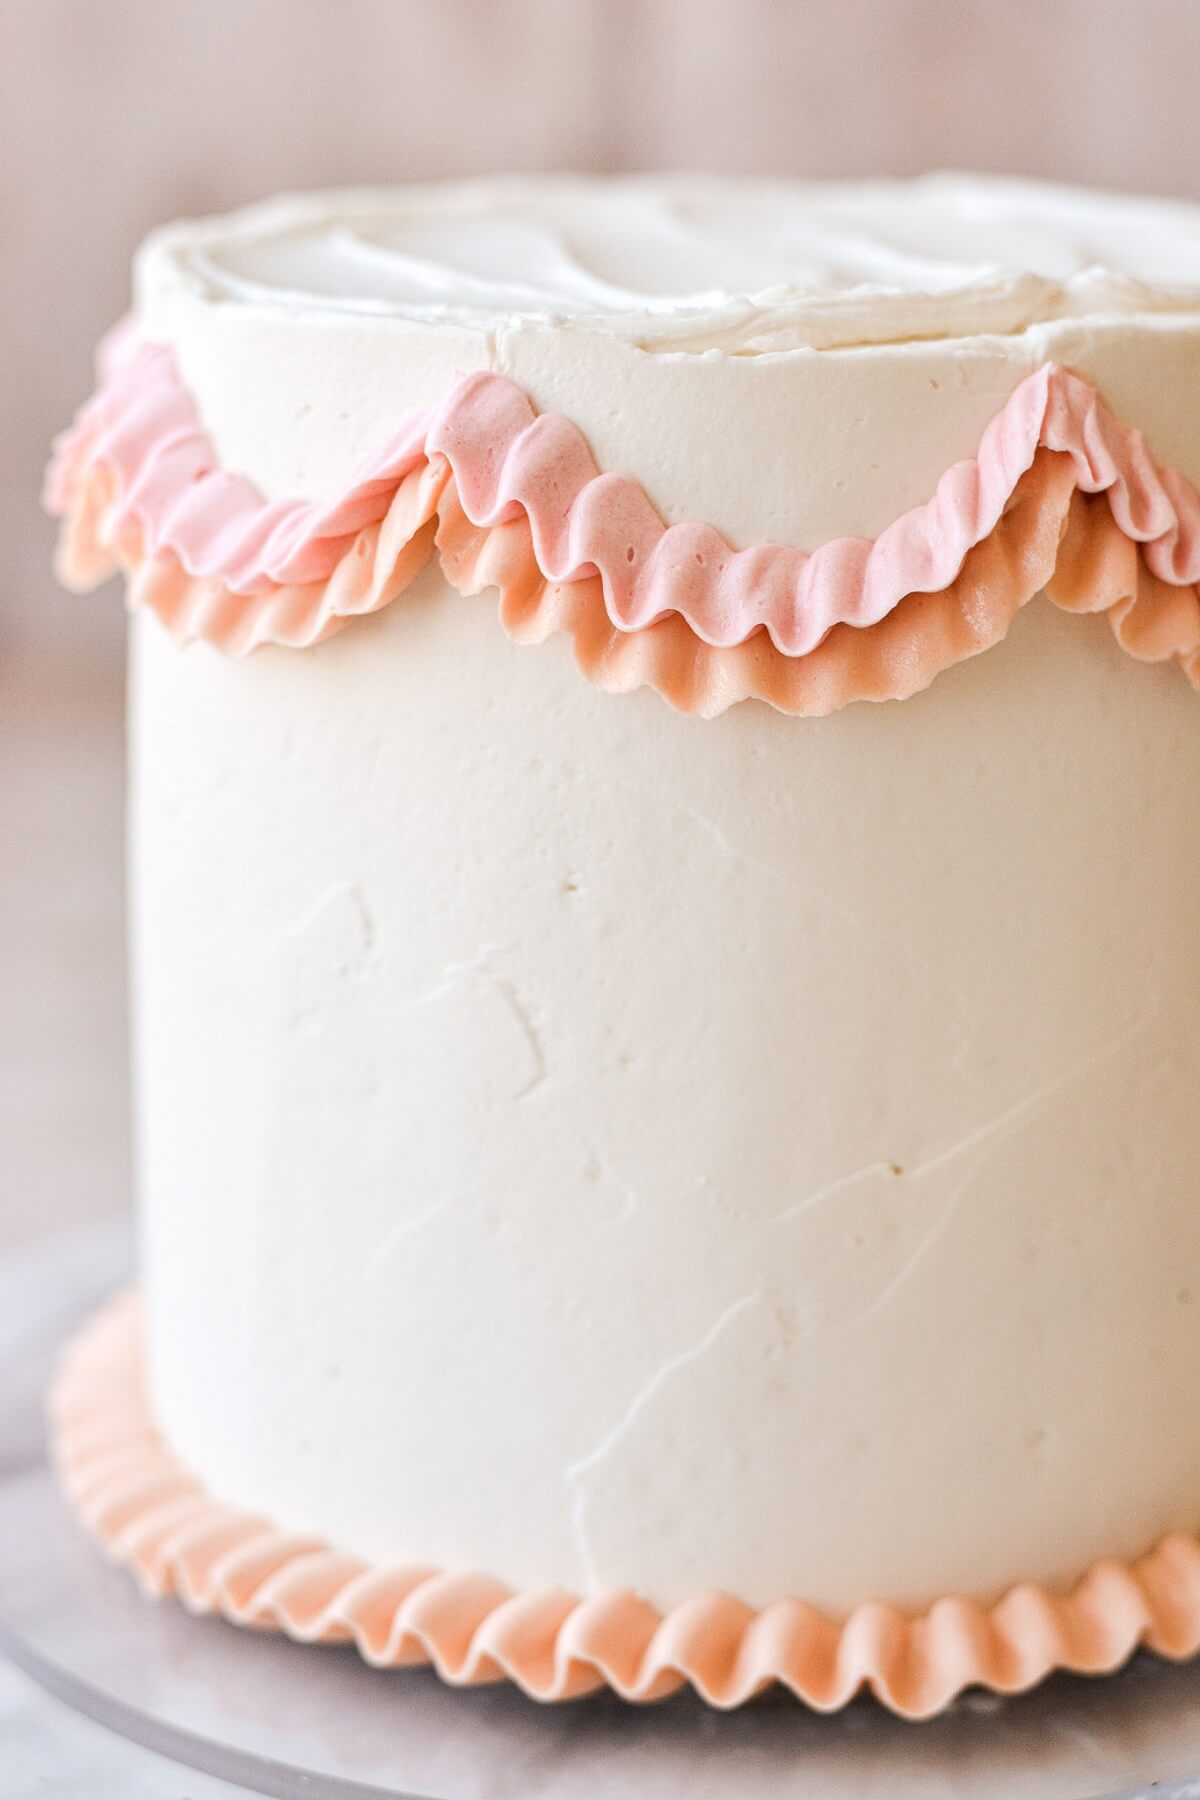
- Next, fit a piping bag with tip 104 and fill with pink buttercream. Pipe a pink ruffle, right on top of the orange ruffle, along the half circles.
- Using tip 4B, pipe a pink shell border above the orange ruffle around the bottom of the cake.
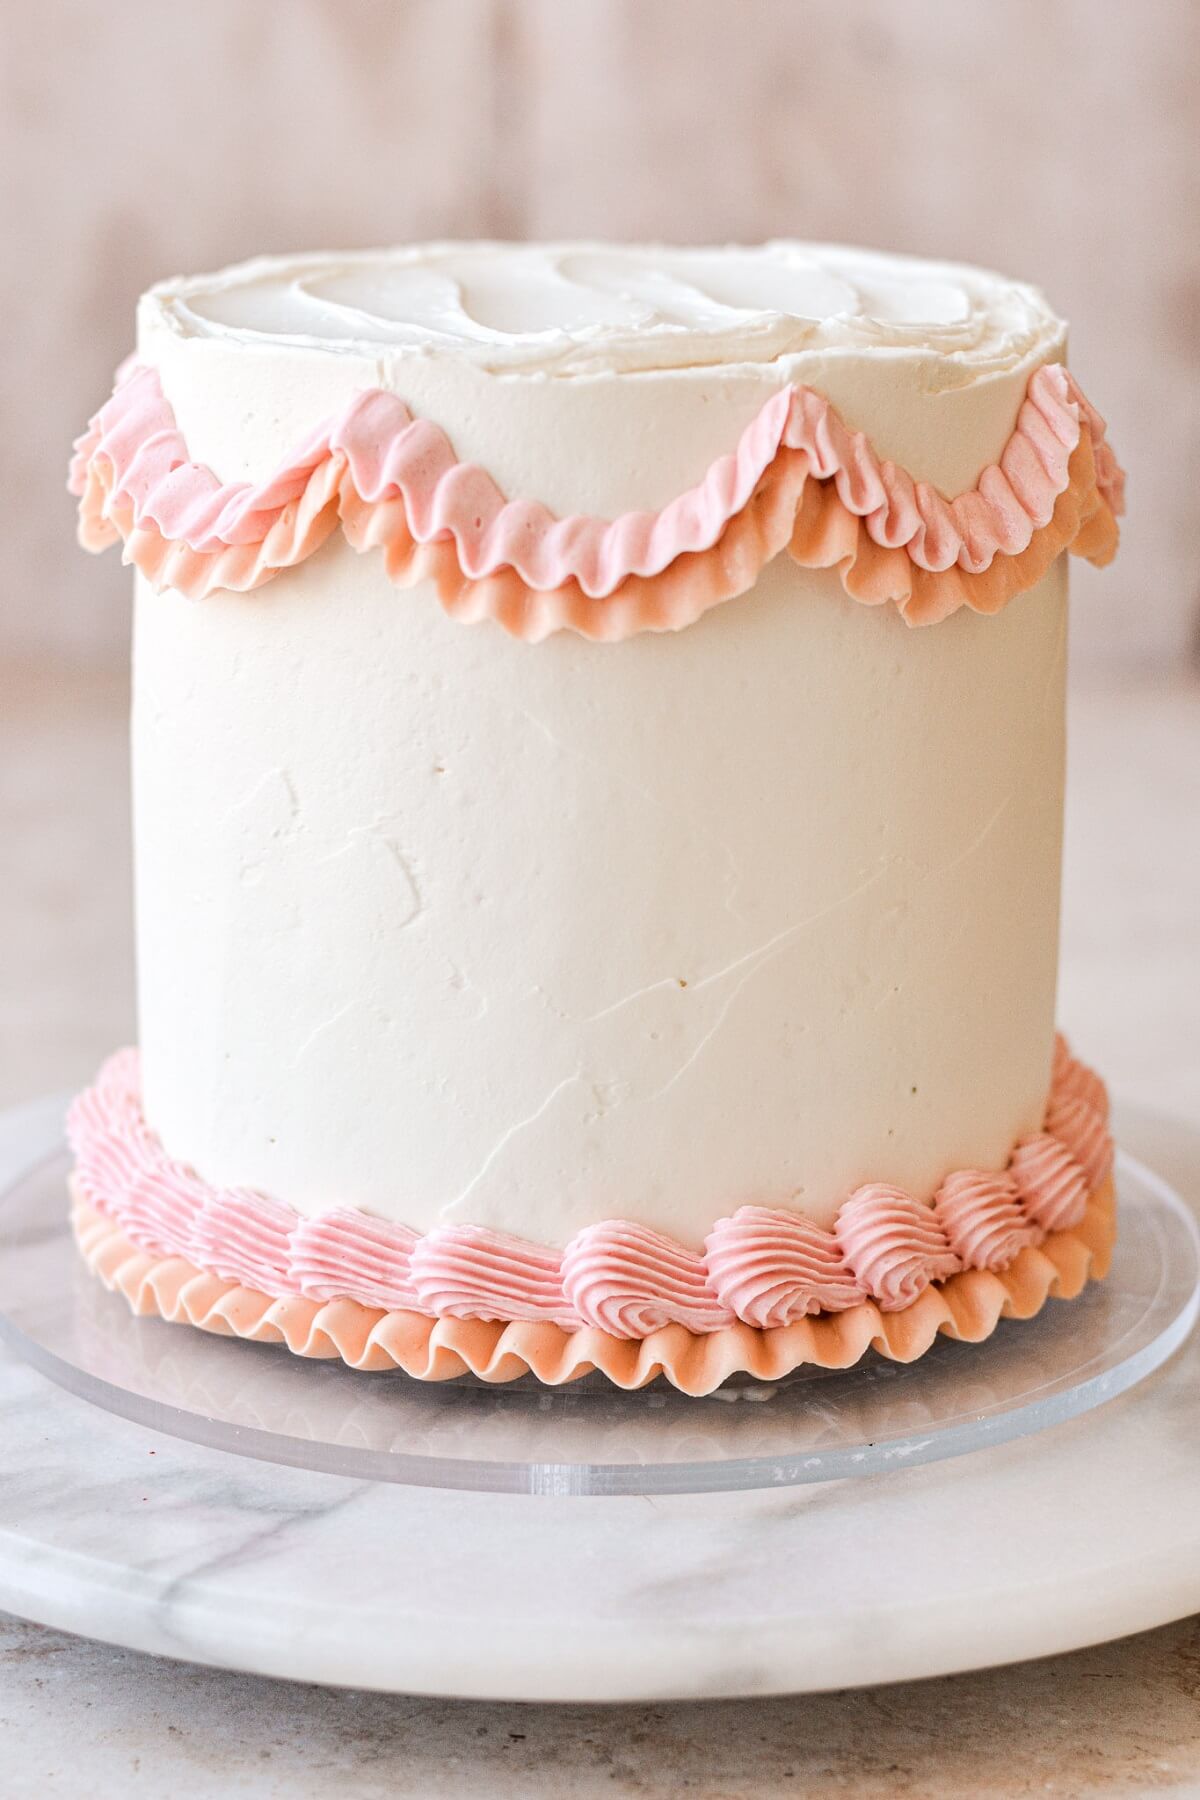
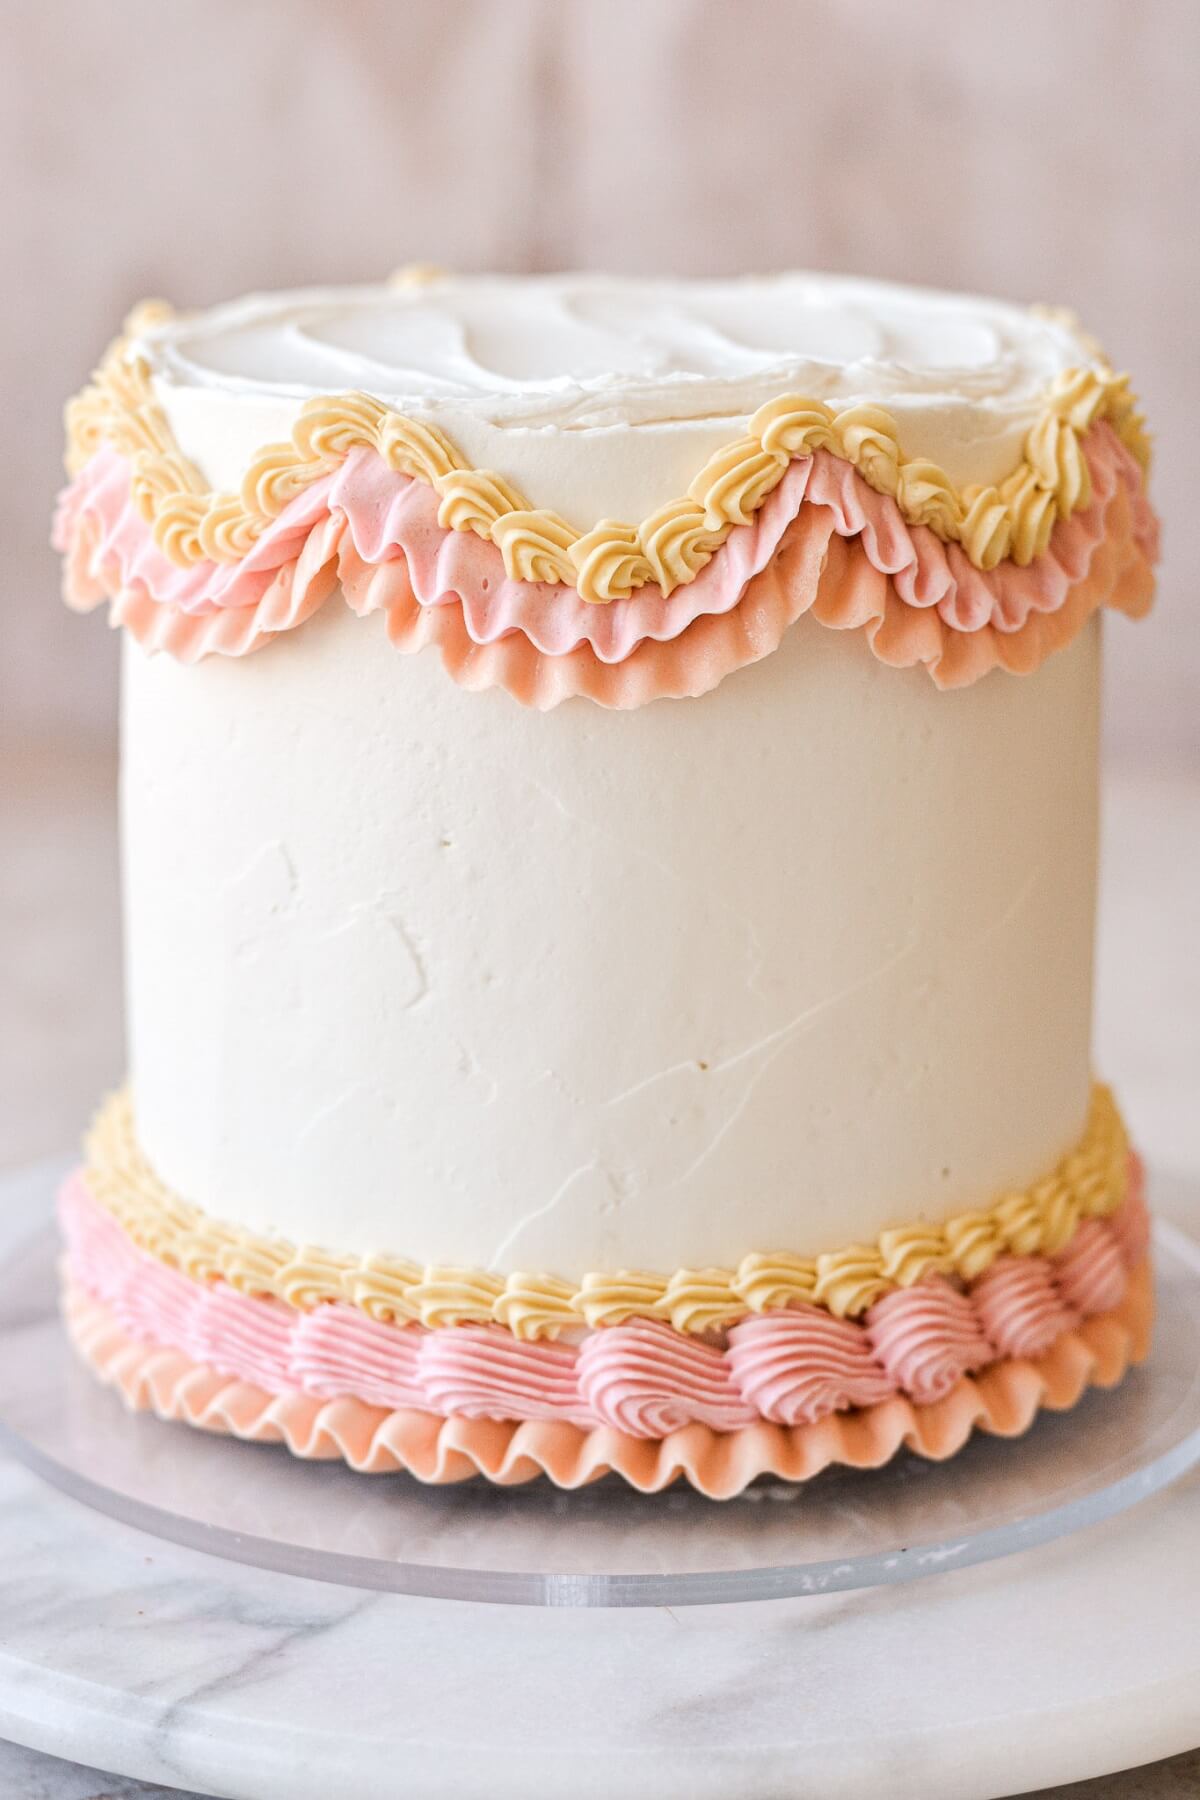
- Fit a piping bag with tip 17, and fill with yellow buttercream. Pipe a yellow shell border above the pink shell border around the bottom of the cake, and above the orange and pink ruffles along the half circles.
- Fit a piping bag with tip 69, and fill with orange buttercream. Pipe a ruffly design along the top edge of the cake. For this ruffle, use the same “push and pull” movement that you do when piping a shell border to pipe the ruffle around the top edge. If you’re unsure how to do this, be sure to practice first on a piece of wax paper, until you like how it looks, before you start piping on your cake.
- With tip 4B, pipe 8 swirls or mounds of pink buttercream at the top edge of the cake.


- With tip 129, pipe 8 small pink flowers around the sides of the cake, then place a small sugar pearl in the center of each flower.
- With tip 352, pipe a few green leaves next to each of the flowers.


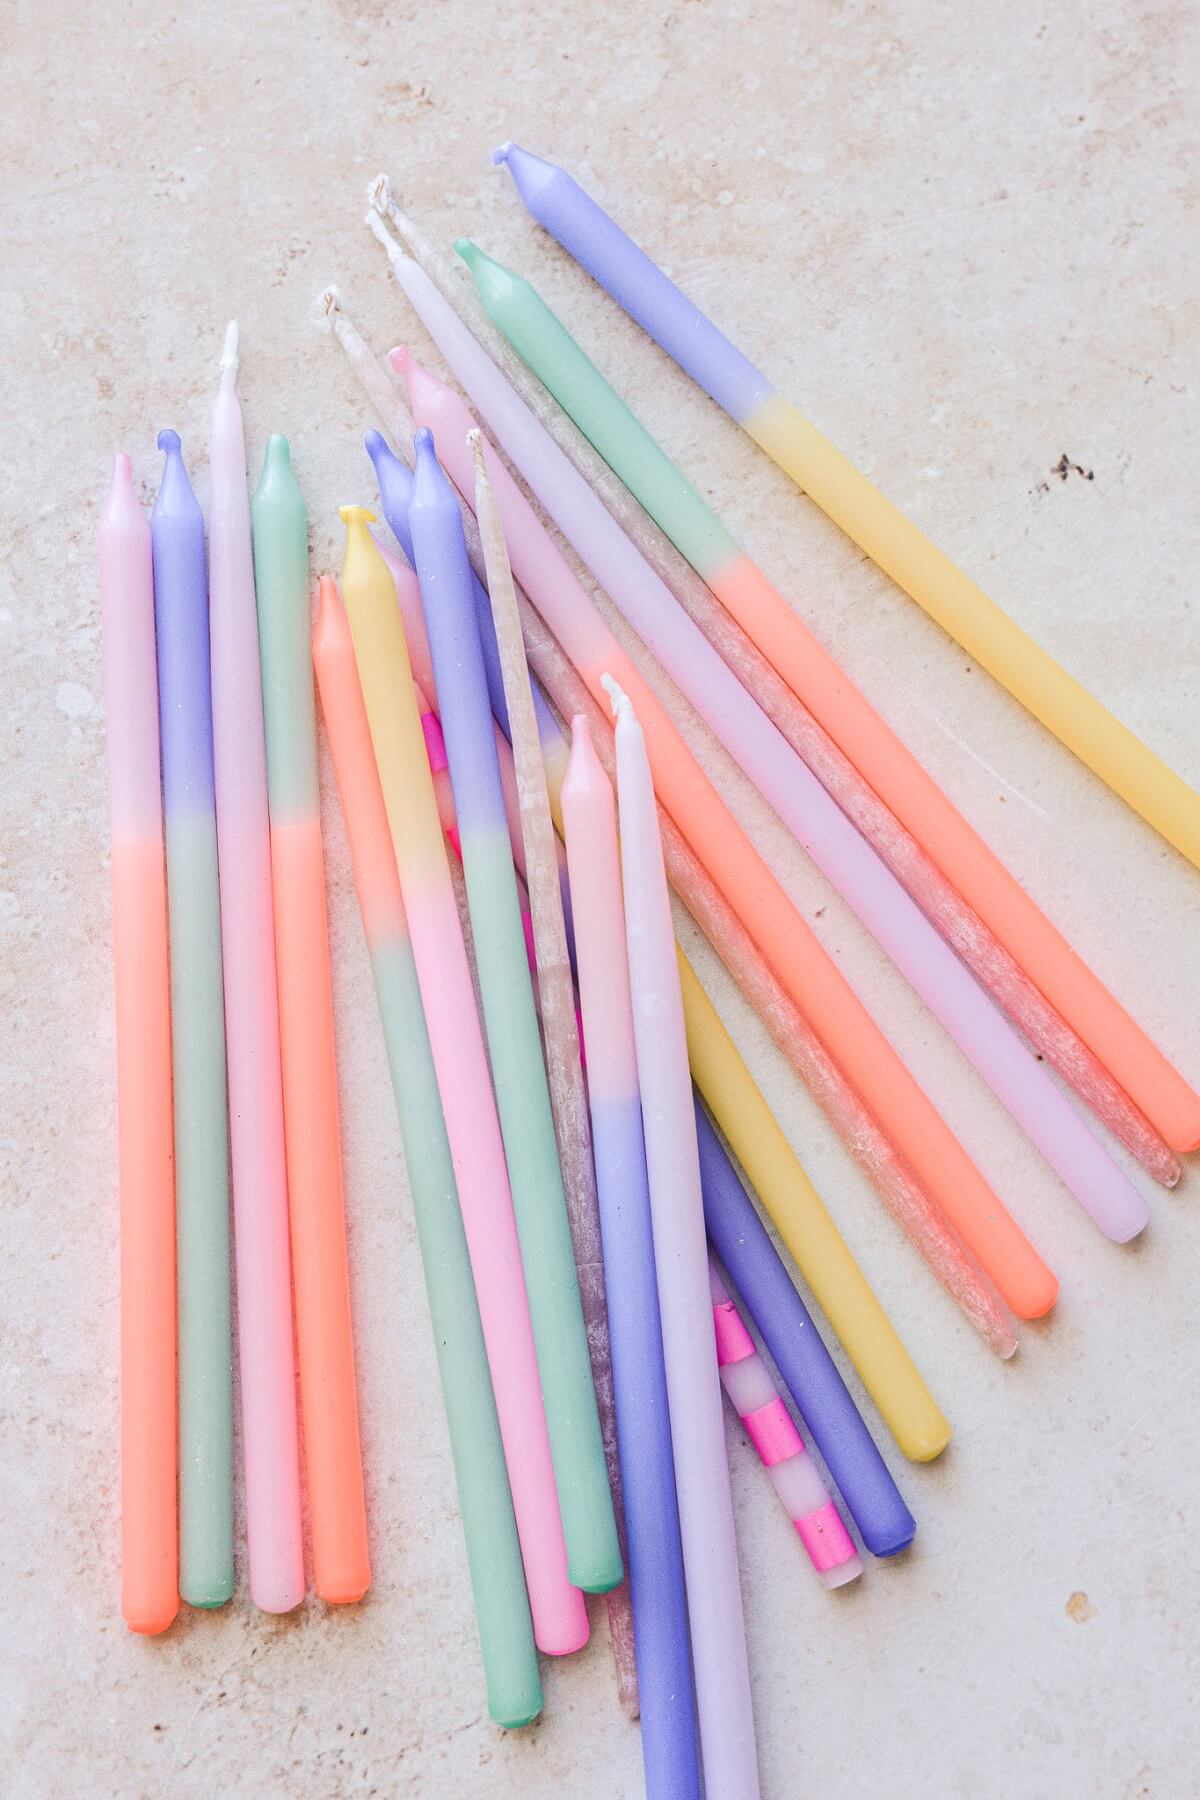
- Finish the cake with a birthday candle inserted into each of the swirls on top of the cake.
Be sure to read all of my BAKING FAQs where I discuss ingredients, substitutions and common questions with cake making, so that you can be successful in your own baking! I also suggest reading these comprehensive posts on making Perfect American Buttercream, How to Stack, Fill, Crumb Coat and Frost Layer Cakes and How to Use Piping Bags.
Frequently Asked Questions
How should I store this cake?
Store leftover cake in an airtight container at room temperature for up to 3 days.
Can the decorated cake be frozen?
If you want to make and decorate your pastel party cake in advance, you can freeze the fully decorated cake in an airtight container or cake carrier for up to 2 weeks. Thaw for 24 hours in the refrigerator, then let come to room temperature for 4-6 hours before serving.
Where did you get the birthday candles?
I’m always collecting birthday candles any time I see some cute ones, and I especially love the Meri Meri brand of candles. I used some of the Meri Meri Color Block Candles and the Meri Meri Pastel Striped Candles on today’s cake.
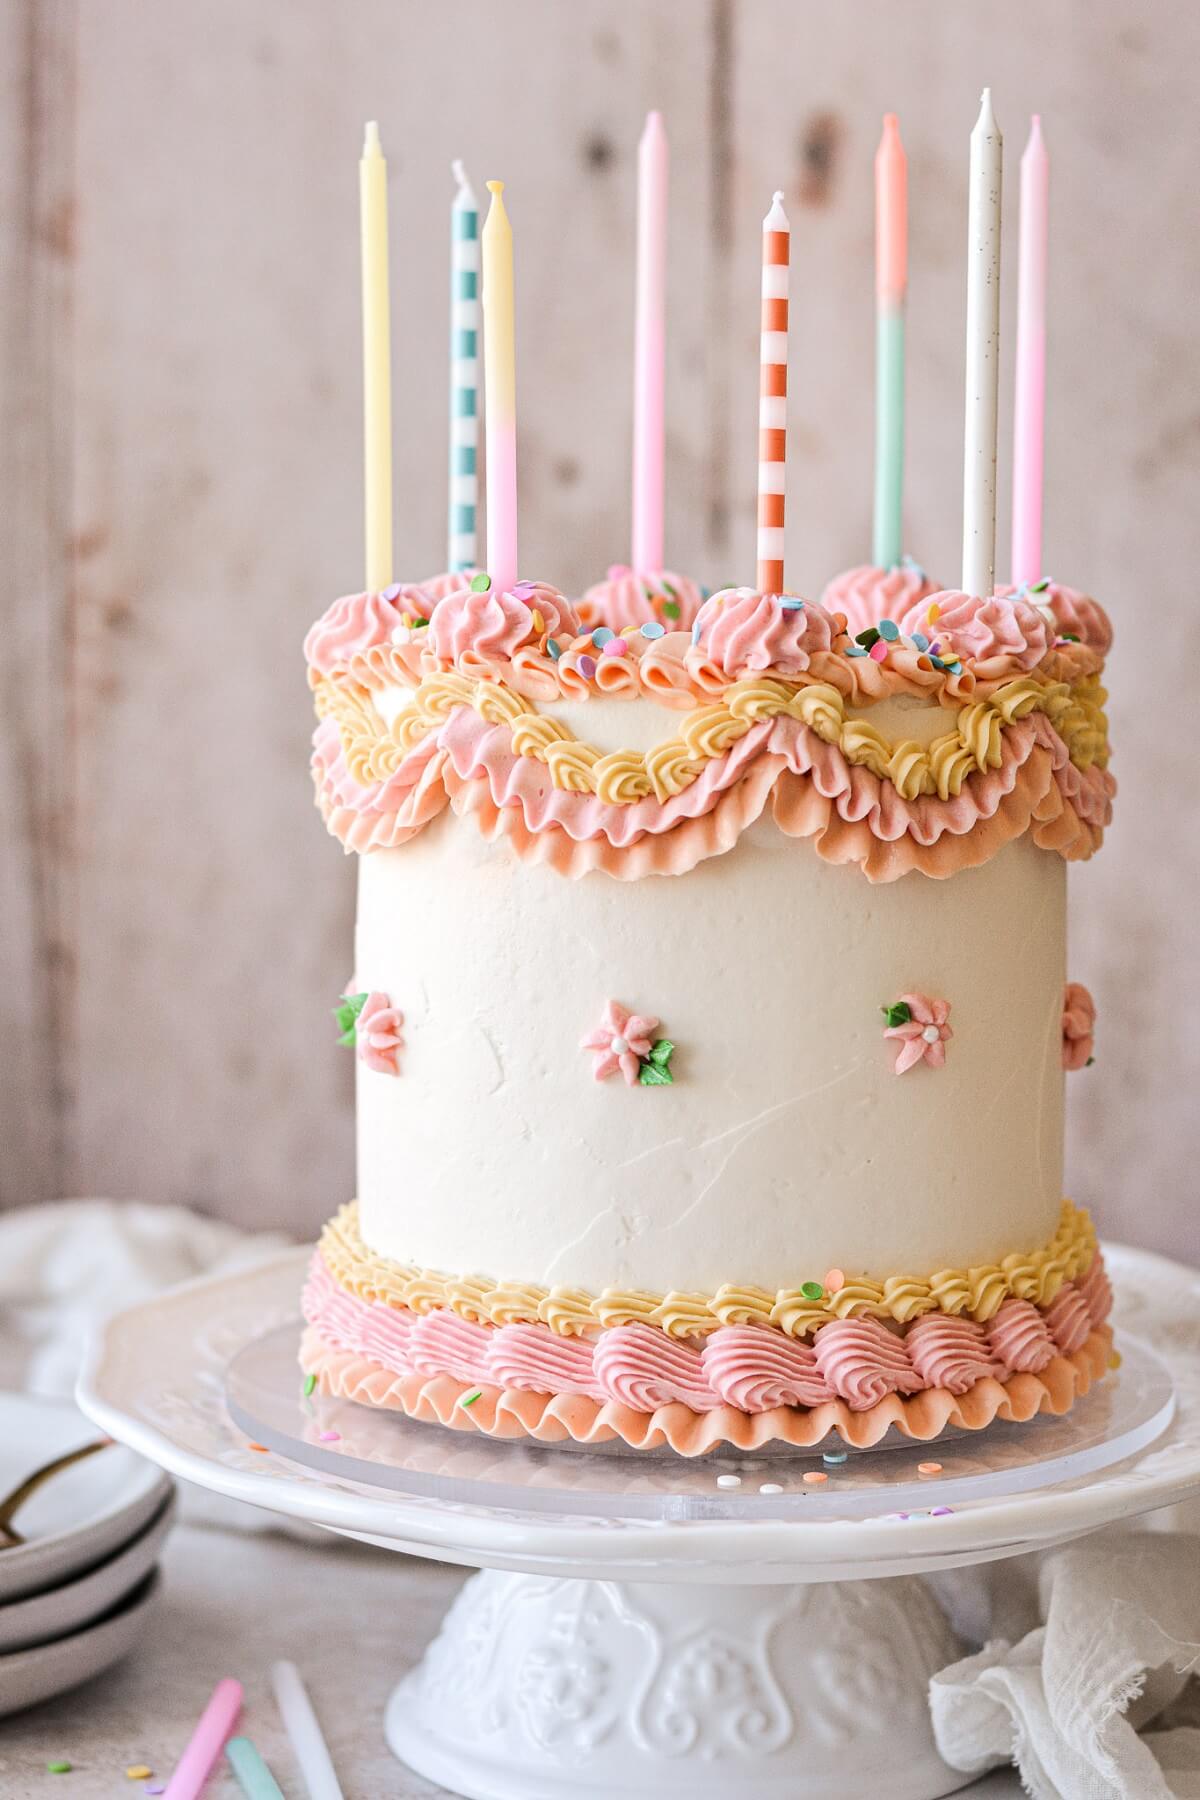
You Might Also Like

Please check out my Amazon Shop for a curated collection of some of my favorite cake pans from trusted brands, baking tools, ingredients, pretty things and fashion finds. I recommend products that I buy and use every day!
Did you love today’s recipe? Please rate the recipe and let me know in the comments what you thought! Also, be sure to follow Curly Girl Kitchen on Instagram, and tag me when you try one of my recipes so I can see all your delicious creations!
Pastel Party Birthday Cake with Lambeth Piping
All recipes on Curly Girl Kitchen are developed for high altitude at 5,280 feet. See FAQs for adjusting to higher or lower elevations.
Equipment
- Stand Mixer with Paddle Attachment
- 8-inch cake pans (x4) or, 6-inch cake pans (x4) for an extra tall cake
- 12-Inch Disposable Piping Bags + Couplers
- Piping Tips 4B, 69, 17, 104, 129, and 352
Ingredients
- 1 recipe Vanilla Cake
- 6x recipe Vanilla Buttercream
- gel food coloring (super red or electric pink, orange, yellow, leaf green)
- 1 ½ tbsp confetti sprinkles
- 8 small sugar pearls
Instructions
Bake the Cake
- Preheat the oven to 350 F, and position a rack in the center of the oven. Prepare four cake pans by spraying the bottoms with non-stick baking spray.Notes on Pan SizesFor the 7-inch tall cake pictured in today's post, divide the cake batter between four 6-inch cake pans. This makes small but thick cake layers for an extra tall cake, and is not recommended for those who are inexperienced with stacking and frosting layer cakes.For a more standard-sized cake that's not as tall but still serves 16 people, divide the cake batter between four 8-inch cake pans. The cake layers will be thinner, and much more manageable for a beginner to stack and frost.For a more petite cake that serves 8 people, cut the cake recipe in half, and use four 6-inch cake pans.
- Prepare the vanilla cake batter as instructed, taking care not to over-mix the batter. Divide the batter evenly between 4 bowls. Use the food coloring to tint three bowls of batter pink, orange and yellow, and stir the confetti sprinkles into the 4th bowl.
- Pour the batter into the prepared baking pans. Bake thicker 6-inch cake layers for about 30-35 minutes, and thinner 8-inch cake layers for about 25-30 minutes. Set the pans on a cooling rack, cover them loosely with a clean kitchen towel, and cool completely before frosting.Be sure to level the cakes by slicing off the domed tops before assembling your cake.
Make the Buttercream and Frost the Cake
- Remove the cooled cakes from the pans, and stack and fill the cake layers with the buttercream. Frost the cake all over with a thin crumb coat of buttercream. Chill in the refrigerator for 30 minutes, then frost all over with a final smooth coat of buttercream. Chill the frosted cake in the refrigerator for at least 1 hour, before decorating with the Lambeth piping.For tips, see this post: How to Stack, Fill, Crumb Coat and Frost Layer Cakes.
Color the Remaining Buttercream
- Divide the leftover buttercream between several bowls, and use the food coloring to tint each to your desired shade.
- For the design pictured in today's post, you'll need about 1 cup of pink buttercream, 3/4 cup of orange buttercream, 1/2 cup of yellow buttercream, and 2 tablespoons of green buttercream.Pro Tip: To soften the brightness of the pink, orange and yellow, add a tiny drop of "warm brown" gel food coloring to the buttercream. This makes the color a bit more muted and natural
Decorate the Cake
- Use a round cookie cutter or biscuit cutter to mark the top edge of the cake with 8 half circles – this gives you a template to pipe along, so your piping is even all the way around the cake. See photos demonstrating this step in my original Lambeth Cake Post.I'd also suggest reading this post, for tips on how to prep your piping bags and piping tips: How to Use Piping Bags, Couplers and Piping Tips.
- Fit a piping bag with tip 104, and fill with the orange buttercream. Pipe an orange ruffle around the bottom edge of the cake.Still using tip 104, pipe an orange ruffle along the half circles, all around the cake, to make a ruffly garland or draped design. Note that on the first row of ruffles, I didn’t go all the way up to the top edge of the cake, since I wanted to leave room for more rows of piping.
- Next, fit a piping bag with tip 104 and fill with pink buttercream. Pipe a pink ruffle, right on top of the orange ruffle, along the half circles.
- Using tip 4B, pipe a pink shell border above the orange ruffle around the bottom of the cake.
- Fit a piping bag with tip 17, and fill with yellow buttercream. Pipe a yellow shell border above the pink shell border around the bottom of the cake, and above the orange and pink ruffles along the half circles.
- Fit a piping bag with tip 69, and fill with orange buttercream. Pipe a ruffly design along the top edge of the cake.For this ruffle, use the same “push and pull” movement that you do when piping a shell border to pipe the ruffle around the top edge. If you’re unsure how to do this, be sure to practice first on a piece of wax paper, until you like how it looks, before you start piping on your cake.
- With tip 4B, pipe 8 swirls or mounds of pink buttercream at the top edge of the cake.
- With tip 129, pipe 8 small pink flowers around the sides of the cake, then place a small sugar pearl in the center of each flower.
- With tip 352, pipe a few green leaves next to each of the flowers.
- Finish the cake with a birthday candle inserted into each of the swirls on top of the cake.

Wow! This cake is so captivating! This would be perfect for a girls birthday cake.
Do you use bleached cake flour or king Arthur’s unbleached cake flour for your vanilla cake?
Your creations are a work of art!
Thanks so much! I use Swans Down cake flour, which is bleached.